32
|
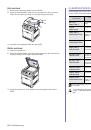
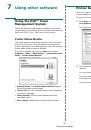
Copying
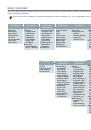
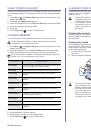
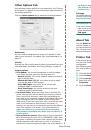
CHANGING THE SCAN SIZE SETTINGS
You can adjust the scan size for the original paper. For example, if you scan
a A4-sized original and set the scan size to A5, the printer scans only the
area of A5 (148 x 210 mm). We recommend you to change the right scan
size for the original paper. After loading the print media for copy output, you
need to set the scan size using the control panel buttons.
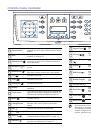
1.
Press
Copy
.
2.
Press
Menu
(
)
until
Copy Setup
appears on the bottom line of the
display and press
OK
.
3.
Press
OK
when
Scan Size
appears.
4.
Press the left/right arrow until the setting you want appears and press
OK
.
5.
Press
Stop/Clear
(
)
to return to Ready mode.
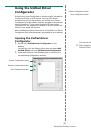
CHANGING THE DEFAULT COPY SETTINGS
The copy options, including darkness, original type, copy size, and number
of copies, can be set to those most frequently used. When you copy a
document, the default settings are used unless they have been changed by
using the corresponding buttons on the control panel.
1.
Press
Copy
.
2.
Press
Menu
(
)
until
Copy Setup
appears on the bottom line of the
display and press
OK
.
3.
Press
OK
when
Change Default
appears.
4.
Press the left/right arrow until the setup option you want appears and
press
OK
.
5.
Press the left/right arrow until the setting you want appears and press
OK
.
6.
Repeat steps 4 through 5, as needed.
7.
Press
Stop/Clear
(
)
to return to Ready mode.
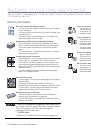
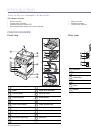
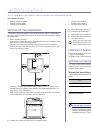
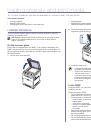
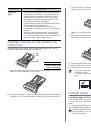
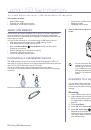
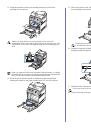
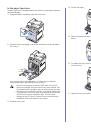
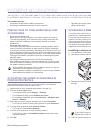
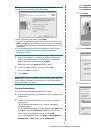
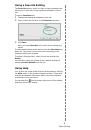
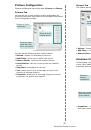
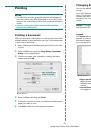
ID CARD COPYING
Your printer can print 2-sided originals on one sheet of A4-, Letter-, Legal-,
Folio-, Oficio-, Executive-, B5-, A5-, or A6-sized paper.
When you copy using this feature, the printer prints one side of the original
on the upper half of the paper and the other side on the lower half without
reducing the size of the original. This feature is helpful for copying a small-
sized item, such as a name card.
This copy feature is available only when you place originals on the scanner
glass.
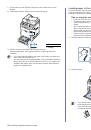
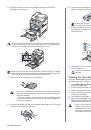
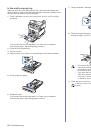
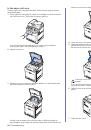
1.
Press
ID Copy
(
)
.
2.
Place a single original face down on the scanner glass.
For details about loading an original, see "Loading
3. Place Front Side and Press[Start]
appears on the
display.
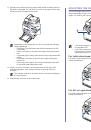
4.
Press
Color Start
(
)
or
Black Start
(
)
.
Your printer begins scanning the front side and shows
Place Back Side and Press[Start]
5.
Open the scanner lid and turn the original over.
6.
Press
Color Start
(
)
to begin color copying.
Or, press
Black Start
(
)
to begin black and white copying
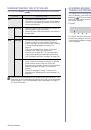
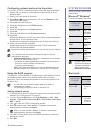
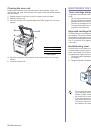
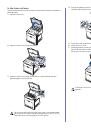
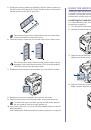
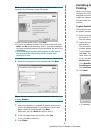
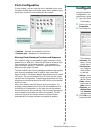
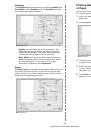
USING SPECIAL COPY FEATURES
You can use the following copy features:
Collation
You can set the printer to sort the copy job. For example, if you make 2
copies of a 3 page original, one complete 3 page document will print
followed by a second complete document.
1.
Press
Copy
.
2.
Load originals face up into the DADF, or place a single
original face down on the scanner glass.
For details about loading an original, see "Loading
3.
Enter the number of copies using the number keypad.
4.
Press
Menu
(
)
until
Copy Feature
appears on the
bottom line of the display and press
OK
.
5.
Press
OK
when
Copy Collation
appears.
6.
Press the left/right arrow to select the color mode you
want.
There are two types of mode as following:
•
Yes-Color:
Color copy
•
Yes-Mono:
Black and White copy
7.
Press
OK
to begin copying.
One complete document will print followed by the second complete
document.
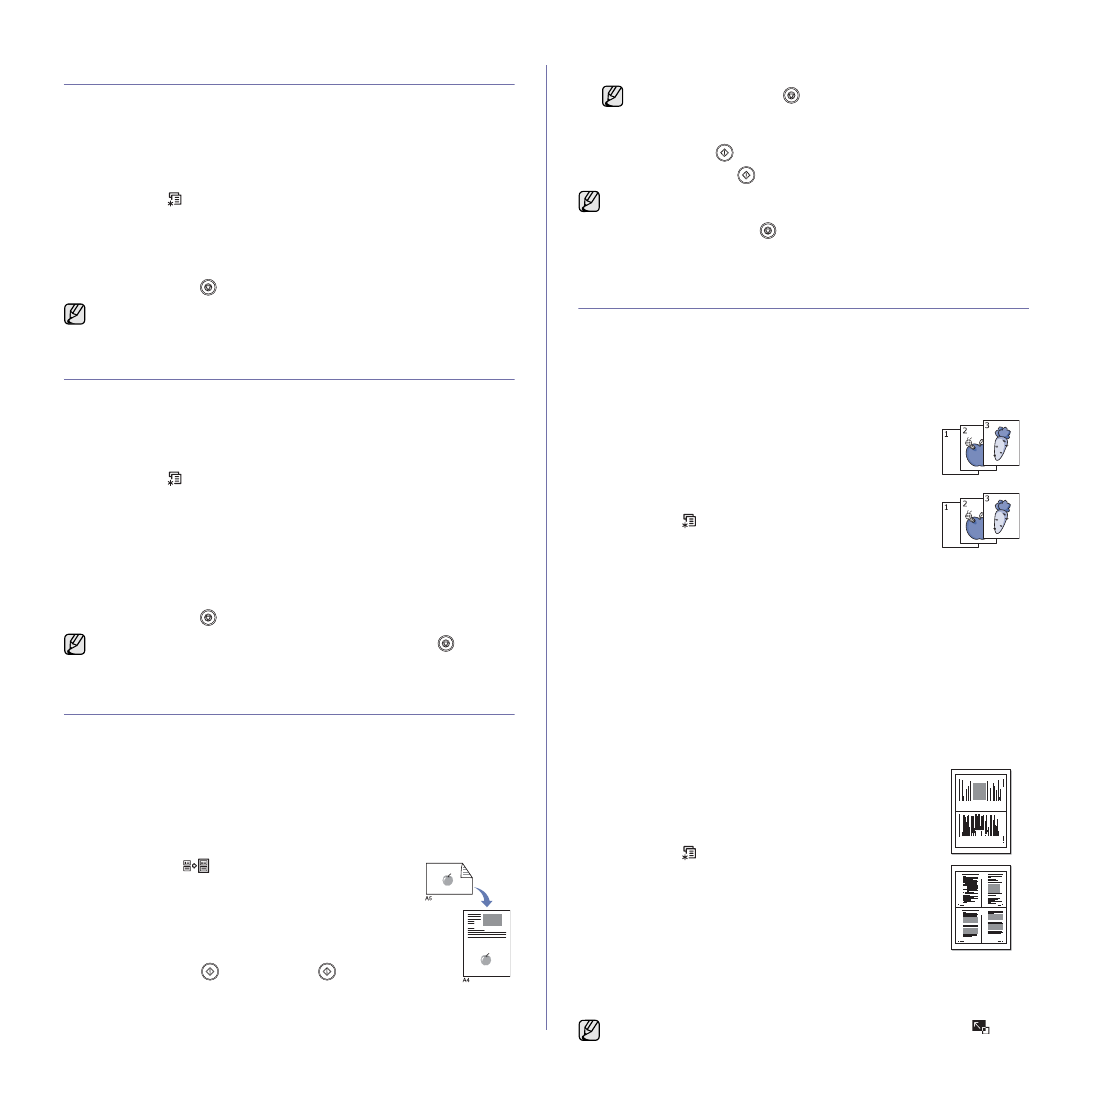
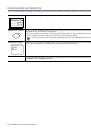
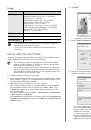
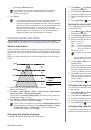
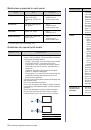
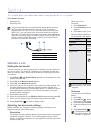
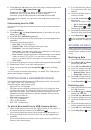
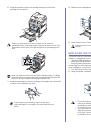
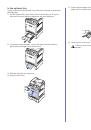
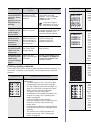
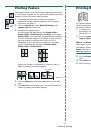
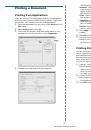
2-up or 4-up copying
Your printer can print 2 or 4 original images reduced to fit onto one sheet of
paper.
1.
Press
Copy
.
2.
Load originals face up into the DADF, or place a single
original face down on the scanner glass.
For details about loading an original, see "Loading
3.
Press
Menu
(
)
until
Copy Feature
appears on the
bottom line of the display and press
OK
.
4.
Press the left/right arrow until
2-Up
or
4-Up
appears
and press
OK
.
5.
Press the left/right arrow to select the color mode you
want.
There are two types of mode as following:
•
Yes-Color:
Color copy
•
Yes-Mono:
Black and White copy
6.
Press
OK
to begin copying.
After using this option, the printer automatically resumes to the default
setting.
While you are setting copy options, pressing
Stop/Clear
(
)
cancels
the changed settings and restores the defaults.
If you press
Stop/Clear
(
)
or if no buttons are pressed for
approximately 30 seconds, the printer cancels the copy job and
returns to Ready mode.
If the original is larger than the printable area, some portions may not
be printed.
If you press
Stop/Clear
(
)
or if no buttons are pressed for
approximately 30 seconds, the printer cancels the copy job and
returns to Ready mode.
You cannot adjust the copy size using the
Reduce/Enlarge
(
)
button for making a 2- or 4-up copy.
1
2
1
2
3
4
 1
1
 2
2
 3
3
 4
4
 5
5
 6
6
 7
7
 8
8
 9
9
 10
10
 11
11
 12
12
 13
13
 14
14
 15
15
 16
16
 17
17
 18
18
 19
19
 20
20
 21
21
 22
22
 23
23
 24
24
 25
25
 26
26
 27
27
 28
28
 29
29
 30
30
 31
31
 32
32
 33
33
 34
34
 35
35
 36
36
 37
37
 38
38
 39
39
 40
40
 41
41
 42
42
 43
43
 44
44
 45
45
 46
46
 47
47
 48
48
 49
49
 50
50
 51
51
 52
52
 53
53
 54
54
 55
55
 56
56
 57
57
 58
58
 59
59
 60
60
 61
61
 62
62
 63
63
 64
64
 65
65
 66
66
 67
67
 68
68
 69
69
 70
70
 71
71
 72
72
 73
73
 74
74
 75
75
 76
76
 77
77
 78
78
 79
79
 80
80
 81
81
 82
82
 83
83
 84
84
 85
85
 86
86
 87
87
 88
88
 89
89
 90
90
 91
91
 92
92
 93
93
 94
94
 95
95
 96
96
 97
97
 98
98
 99
99
 100
100
 101
101
 102
102
 103
103
 104
104
 105
105
 106
106
 107
107
 108
108
 109
109
 110
110
 111
111
 112
112
 113
113
 114
114
 115
115
 116
116
 117
117
 118
118
 119
119
 120
120
 121
121
 122
122
 123
123
 124
124
 125
125
 126
126
 127
127
 128
128
 129
129
 130
130
 131
131
 132
132
 133
133
 134
134
 135
135
 136
136
 137
137
 138
138
 139
139
 140
140
 141
141
Инструкции и руководства похожие на DELL 2145cn