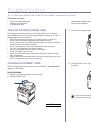
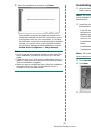
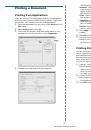
Getting started
|
19
Linux
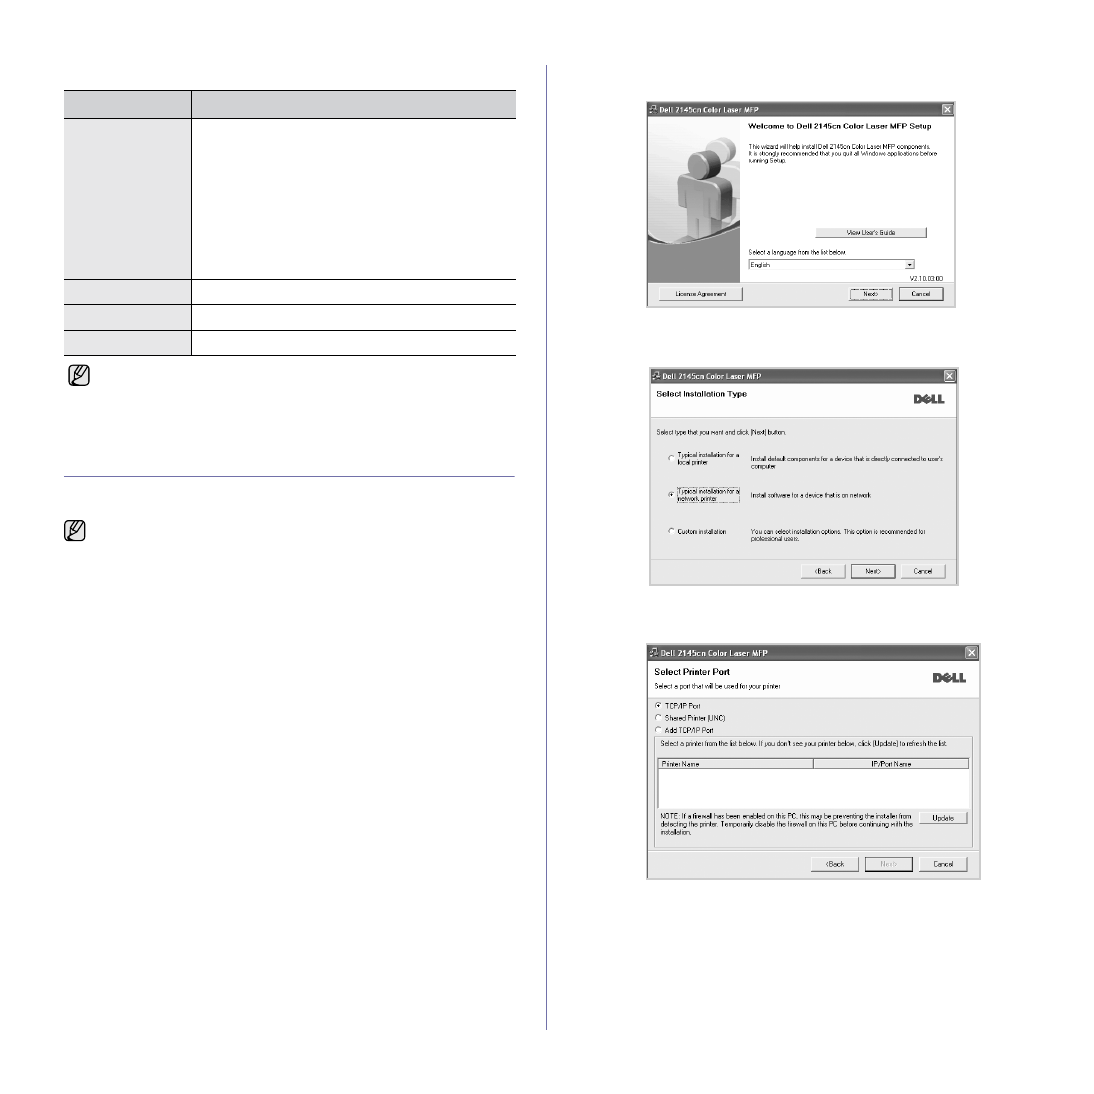
INSTALLING THE SOFTWARE
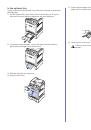
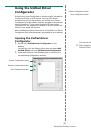
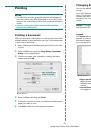
You have to install the printer software for printing. The software includes
drivers, applications, and other user friendly programs.
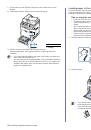
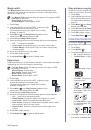
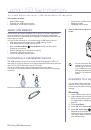
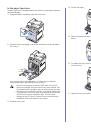
1.
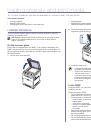
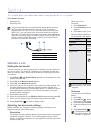
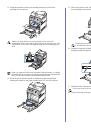
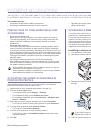
Connect the network cable to your printer.
2.
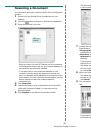
Ensure that the network setup for your printer is completed (see "Setting
up the network" on page 17). All applications should be closed on your
computer before beginning installation.
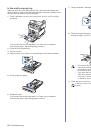
3.
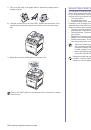
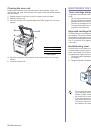
Insert the
Drivers and Utiltiies
CD into your CD drive.
The CD should automatically run, and an installation window appears.
If the installation window does not appear, click
Start
→
Run
. Type
X:\
Setup.exe
, replacing “X” with the letter which represents your CD
drive and click
OK
.
If you use Windows Vista, click
Start
→
All Programs
→
Accessories
→
Run
, and type X:\
Setup.exe
.
If the
AutoPlay
window appears in Windows Vista, click
Run
Setup.exe
in
Install or run program
field, and click
Continue
in the
User Account
Control
window.
4.
Click
Next
.
•
If necessary, select a language from the drop-down list.
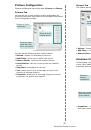
5.
Select
Typical installation for a network printer
, and then click
Next
.
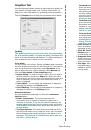
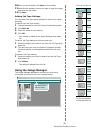
6.
The list of printers available on the network appears. Select the printer
you want to install from the list and then click
Next
.
•
If you do not see your printer on the list, click
Update
to refresh the
list, or select
Add TCP/IP Port
to add your printer to the network. To
add the printer to the network, enter the port name and the IP
address for the printer.
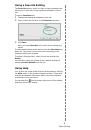
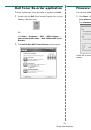
To verify your printer’s IP address or the MAC address, print a
Network Configuration page (see "Printing reports" on page 55).
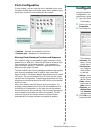
•
To find a shared network printer (UNC Path), select
Shared Printer
[UNC]
and enter the shared name manually or find a shared printer
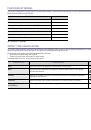
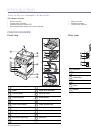
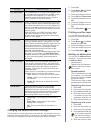
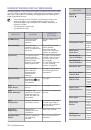
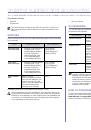
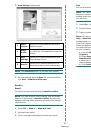
ITEM
REQUIREMENTS
Operating system
RedHat 8.0, 9.0 (32bit)
RedHat Enterprise Linux WS 4, 5 (32/64bit)
Fedora Core 1~7 (32/64bit)
Mandrake 9.2 (32bit), 10.0, 10.1 (32/64bit)
Mandriva 2005, 2006, 2007 (32/64bit)
SuSE Linux 8.2, 9.0, 9.1 (32bit)
SuSE Linux 9.2, 9.3, 10.0, 10.1, 10.2 (32/64bit)
SuSE Linux Enterprise Desktop 9, 10 (32/64bit)
Ubuntu 6.06, 6.10, 7.04 (32/64bit)
Debian 3.1, 4.0 (32/64bit)
CPU
Pentium IV 2.4GHz (IntelCore2)
RAM
512 MB (1024 MB)
Free HDD space
1 GB (2GB)
•
It is necessary to claim swap partition of 300 MB or larger for
working with large scanned images.
•
The Linux scanner driver supports the optical resolution at
maximum.
•
The following procedure is applicable when the printer is being
used as a network printer. If you want to connect a printer with a
USB cable, see the
Software section
.
•
The following procedure is based on the Windows XP operating
system. The procedure and popup window which appear during
the installation may differ depending on the operating system, the
printer feature, or the interface in use.
 1
1
 2
2
 3
3
 4
4
 5
5
 6
6
 7
7
 8
8
 9
9
 10
10
 11
11
 12
12
 13
13
 14
14
 15
15
 16
16
 17
17
 18
18
 19
19
 20
20
 21
21
 22
22
 23
23
 24
24
 25
25
 26
26
 27
27
 28
28
 29
29
 30
30
 31
31
 32
32
 33
33
 34
34
 35
35
 36
36
 37
37
 38
38
 39
39
 40
40
 41
41
 42
42
 43
43
 44
44
 45
45
 46
46
 47
47
 48
48
 49
49
 50
50
 51
51
 52
52
 53
53
 54
54
 55
55
 56
56
 57
57
 58
58
 59
59
 60
60
 61
61
 62
62
 63
63
 64
64
 65
65
 66
66
 67
67
 68
68
 69
69
 70
70
 71
71
 72
72
 73
73
 74
74
 75
75
 76
76
 77
77
 78
78
 79
79
 80
80
 81
81
 82
82
 83
83
 84
84
 85
85
 86
86
 87
87
 88
88
 89
89
 90
90
 91
91
 92
92
 93
93
 94
94
 95
95
 96
96
 97
97
 98
98
 99
99
 100
100
 101
101
 102
102
 103
103
 104
104
 105
105
 106
106
 107
107
 108
108
 109
109
 110
110
 111
111
 112
112
 113
113
 114
114
 115
115
 116
116
 117
117
 118
118
 119
119
 120
120
 121
121
 122
122
 123
123
 124
124
 125
125
 126
126
 127
127
 128
128
 129
129
 130
130
 131
131
 132
132
 133
133
 134
134
 135
135
 136
136
 137
137
 138
138
 139
139
 140
140
 141
141
Инструкции и руководства похожие на DELL 2145cn