n
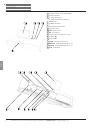
Loewe SoundVision ID
- 32 -
Deutsch
English
Français
Italiano
Español
Nederlands
Dansk
Suomi
Svenska
n
- 32 -
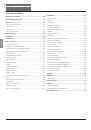
Instructions for Use
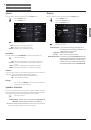
Start-up
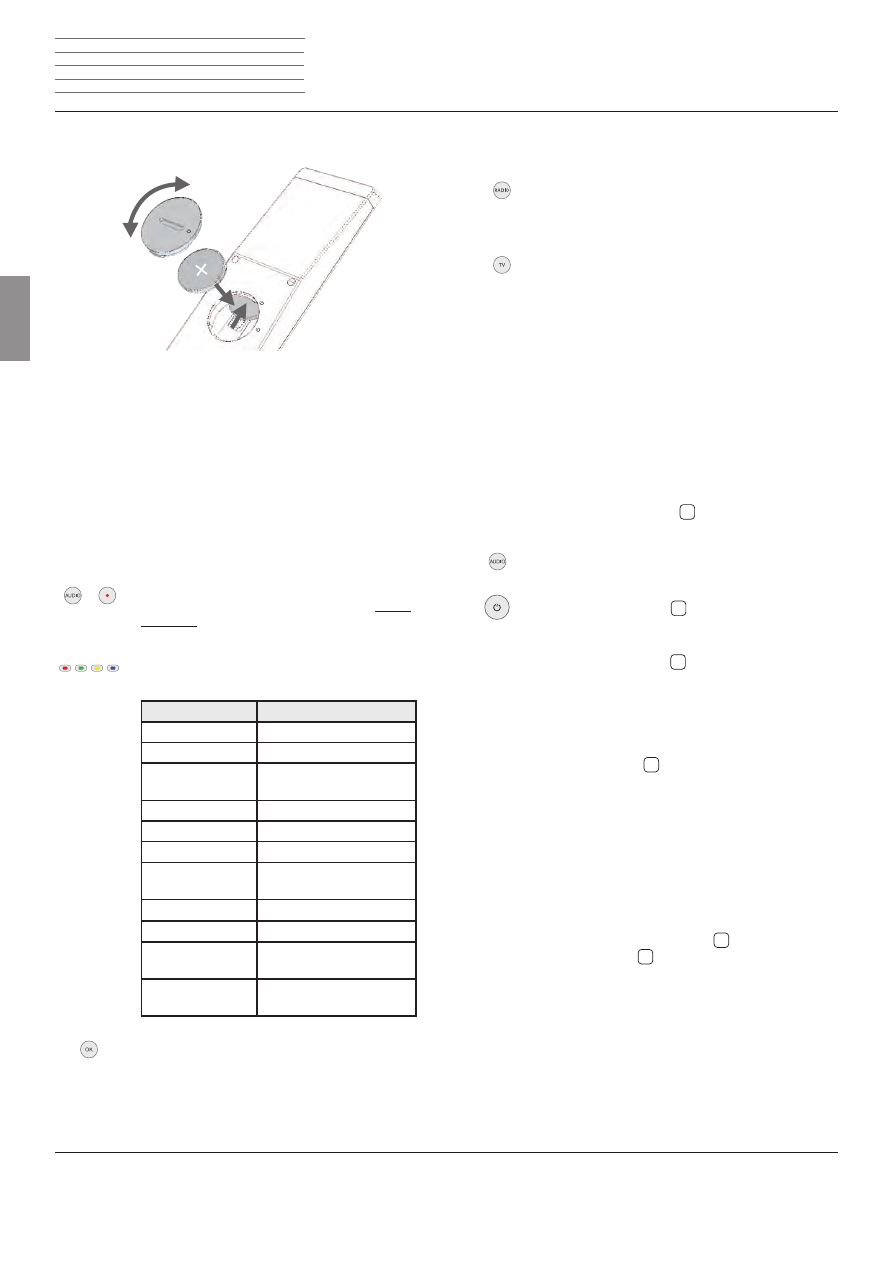
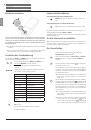
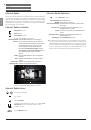
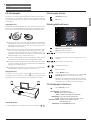
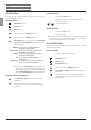
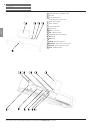
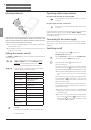
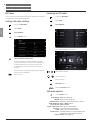
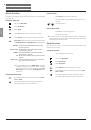
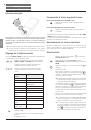
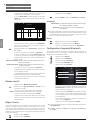
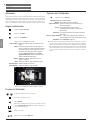
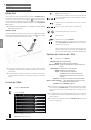
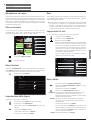
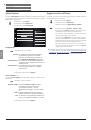
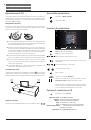
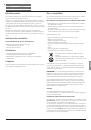
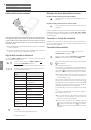
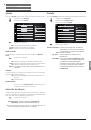
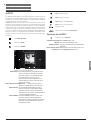
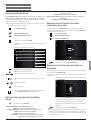
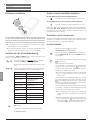
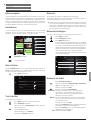
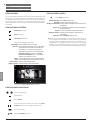
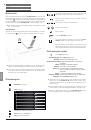
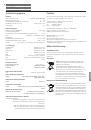
Inserting batteries
1
2
Twist the battery compartment lid out in an anti-clockwise direction and
then remove it. Insert a CR2032/DL2032 battery. The plus pole of the
battery must point upwards here. Replace the battery compartment cover
onto the remote control (observe the markings).
➠
Do not insert rechargeable batteries in the battery compartment
of the remote control!
➠
The batteries used must not be exposed to excessive heat such as
sunlight, fi re or similar!
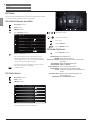
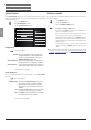
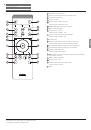
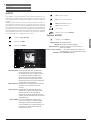
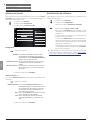
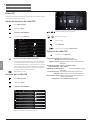
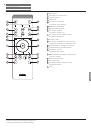
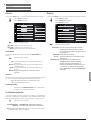
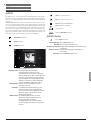
Setting the remote control
The
AUDIO
and
RADIO
buttons can be configured to operate certain
Loewe products:
Press the button down that you wish to configure
(
AUDIO
or
RADIO
) and then press
REC/AUX
at the
same time; hold the buttons down for 5 sec.
The LED over the selected button flashes twice.
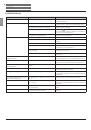
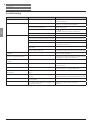
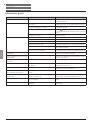
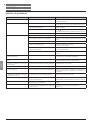
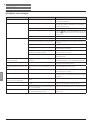
Input the button combination from the table below
(press the buttons one after another).
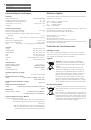
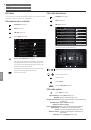
Button combination
Unit
Red
Loewe TV Radio
Green
Loewe Mediacenter
Blue + yellow
Loewe BluTechVision
Interactive/3D
Yellow
Loewe AudioVision
Green + blue
Apple Remote
Green + yellow
Apple TV
Green + yellow +
blue
SoundBox
(RADIO)
Blue
SoundVision ID
(AUDIO)
Red + blue
<AirSpeaker>
Red + green +
yellow
MediaVision 3D
Red + green +
yellow + blue
Reset all settings
Press
OK
The LED above the button for the unit flashes twice.
Default setting
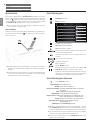
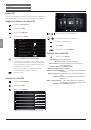
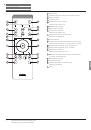
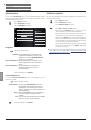
Operating other Loewe devices
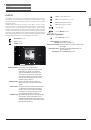
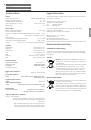
Using the remote control for the Loewe SoundBox
Press the button, the LED indicator lights up for about
5 seconds
Using the remote control for a Loewe TV set
Press the button, the LED indicator lights up for about
5 seconds
Every time a button is pressed, the LED indicator lights up for the selected
operating mode to allow you to check (
TV
–
AUDIO
–
RADIO
).
Please refer to the respective operating instructions on how to operate
the individual devices.
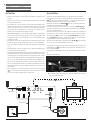
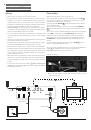
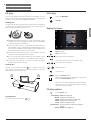
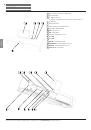
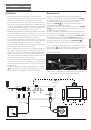
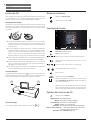
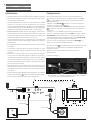
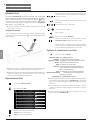
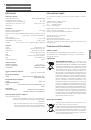
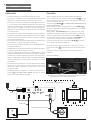
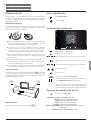
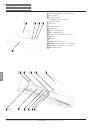
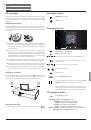
Connecting to the mains supply
Make the required cable connections as shown in the section “Connec-
tion” (page 31). Plug the mains plug into the mains socket 220-240V,
50/60 Hz.
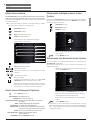
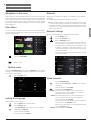
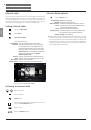
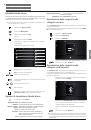
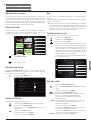
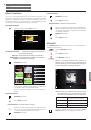
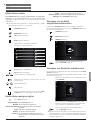
Switching on/off
Switch the power switch
7
to position
I
.
SoundVision ID
switches on.
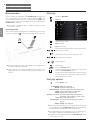
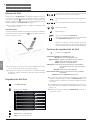
Set the
Assist Easy
remote control for
SoundVision ID
mode by pressing the
AUDIO
button briefly.
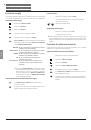
Press the on/off button
1
briefly on the unit.
The unit switches on.
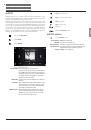
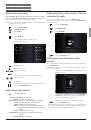
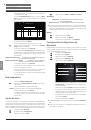
To switch the unit into Quick-start Stand-by Mode,
press the on/off button
1
briefly on the unit. The unit
switches off. The LED display on the display lights up red.
➠
In Quick-start Stand-by Mode, the switch-on process
is fast, the unit not using much electricity (page
47).
To switch the unit off into Energy Saving Mode, press
the on/off button
1
on
the unit
for 5 seconds. The
announcement “Energy-saving mode is activated“ ap-
pears for a few seconds.
The LED light on the display lights up (variant x10 only).
It is possible to switch on via remote control (variant x10
only) and local control.
➠
The power consumption is very low in
Energy Saving
Mode (page 47). The switch-on process takes
somewhat longer.
➠
Switch the unit off if you are away for longer periods
first using the on/off button
1
and then move the
power switch
7
to position
0
. That saves energy
and protects the environment.
 1
1
 2
2
 3
3
 4
4
 5
5
 6
6
 7
7
 8
8
 9
9
 10
10
 11
11
 12
12
 13
13
 14
14
 15
15
 16
16
 17
17
 18
18
 19
19
 20
20
 21
21
 22
22
 23
23
 24
24
 25
25
 26
26
 27
27
 28
28
 29
29
 30
30
 31
31
 32
32
 33
33
 34
34
 35
35
 36
36
 37
37
 38
38
 39
39
 40
40
 41
41
 42
42
 43
43
 44
44
 45
45
 46
46
 47
47
 48
48
 49
49
 50
50
 51
51
 52
52
 53
53
 54
54
 55
55
 56
56
 57
57
 58
58
 59
59
 60
60
 61
61
 62
62
 63
63
 64
64
 65
65
 66
66
 67
67
 68
68
 69
69
 70
70
 71
71
 72
72
 73
73
 74
74
 75
75
 76
76
 77
77
 78
78
 79
79
 80
80
 81
81
 82
82
 83
83
 84
84
 85
85
 86
86
 87
87
 88
88
 89
89
 90
90
 91
91
 92
92
 93
93
 94
94
 95
95
 96
96
 97
97
 98
98
 99
99
 100
100
 101
101
 102
102
 103
103
 104
104
 105
105
 106
106
 107
107
 108
108
 109
109
 110
110
 111
111
 112
112
 113
113
 114
114
 115
115
 116
116
 117
117
 118
118
 119
119
 120
120
 121
121
 122
122
 123
123
 124
124
 125
125
 126
126
 127
127
 128
128
 129
129
 130
130
 131
131
 132
132
 133
133
 134
134
 135
135
 136
136
 137
137
 138
138
 139
139
 140
140
 141
141
 142
142
 143
143
 144
144
 145
145
 146
146
 147
147
 148
148
 149
149
 150
150