n
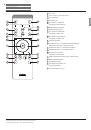
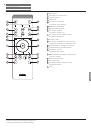
Loewe SoundVision ID
- 34 -
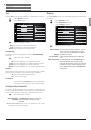
Deutsch
English
Français
Italiano
Español
Nederlands
Dansk
Suomi
Svenska
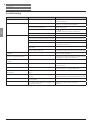
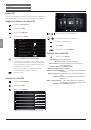
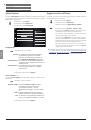
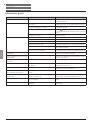
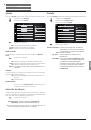
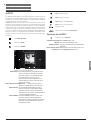
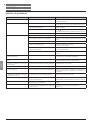
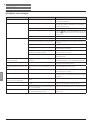
Automatic
Time zone
The time zone in which the unit operates can
be set
Daylight Saving
Summer time and normal time can be set.
➠
The time zone CET corresponds to Central European Time. UTC
or WET corresponds to World Time or West European Normal Time.
EET corresponds to East European Time or Central Euopean Summer
Time.
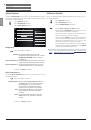
Manual
Set hours time with
Hour
.
Set minutes time with
Minute
.
Confirm setting with
Set
.
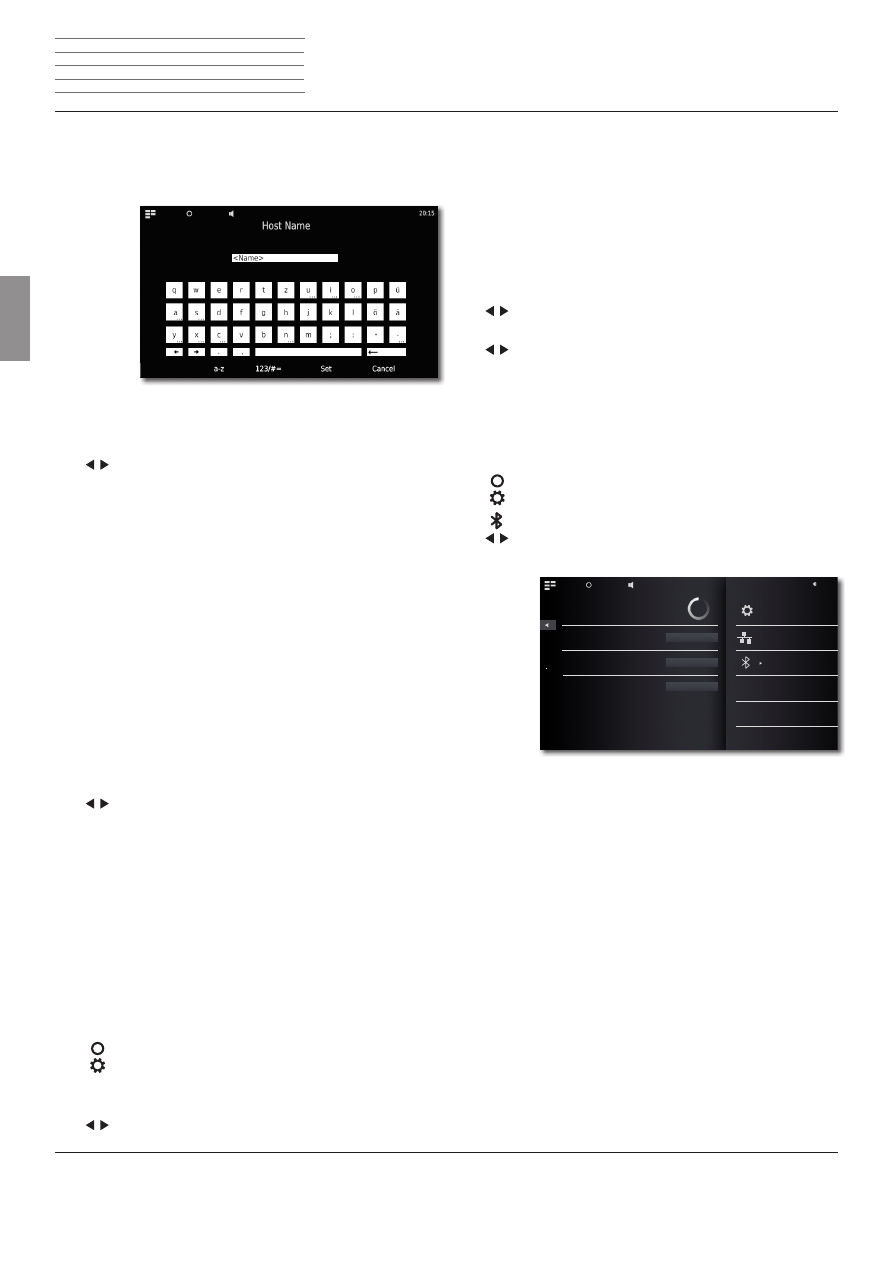
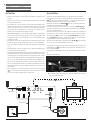
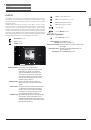
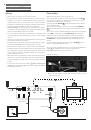
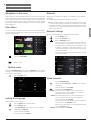
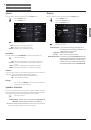
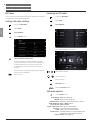
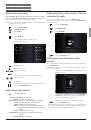
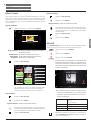
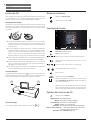
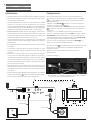
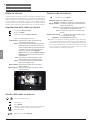
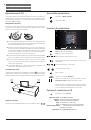
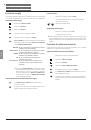
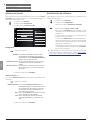
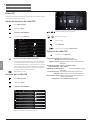
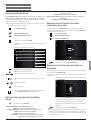
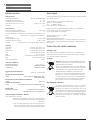
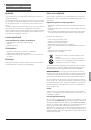
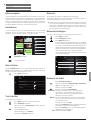
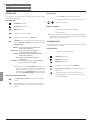
Setting up Bluetooth devices
You can connect music sources, speakers or headphones wirelessly
over Bluetooth. The devices must support the Bluetooth protocol A2DP.
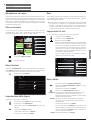
Call up the
Options
menu.
Call up the
Settings
menu.
Select the
Bluetooth
option.
Select the option
Bluetooth
-
on
.
Select the option
Continue
.
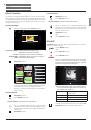
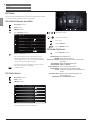
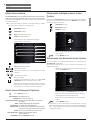
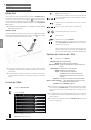
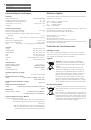
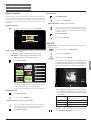
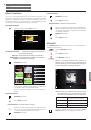
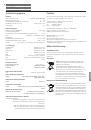
20:15
International
Settings
Bluetooth
Time
Sound
Network
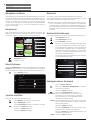
Smartphone
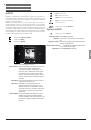
BT-Speaker
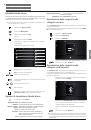
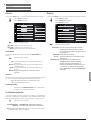
Searching
Back
Pair
Remove
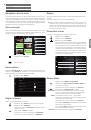
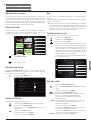
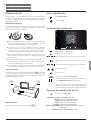
The system will now search for Bluetooth devices in the
vicinity of
SoundVision ID
. Any devices that are found
will be shown on the left hand side of the list.
Select
Pair
for the desired device.
You may need to confirm this on the device that is being
connected as well. Please OK this when asked.
You can delete connected devices from the list by using
the option
Remove
.
End the search with
Back
.
➠
The Bluetooth connection can only be initiated by
SoundVision ID
.
➠
You may need to activate the “visibility” function in the settings of
the device that is being connected to.
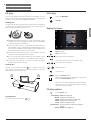
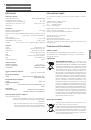
n
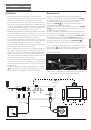
Instructions for Use
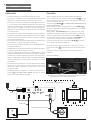
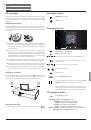
Start-up
It is now possible to give the unit an individual name for
identification in the network.
In the
Host name
line please press the
<Name>
field and
enter the desired name via the keypad that appears.
Confirm entry with
Set
.
You can now set whether a proxy server is present in
the network.
Select desired setting for
Proxy server
-
yes
or
no
.
Confirm selection with
Proceed
.
If you have selected the setting
Proxy server
-
yes
, the
entry fields for the proxy server will appear in the next
step. Tap on the corresponding fields.
Proxy Server Name
Enter the name for the proxy server via the
keypad that appears.
Proxy Server Port
Enter the proxy server port via the keypad
that appears.
Confirm selection with
Proceed
.
The unit now attempts to establish a network connec-
tion with the current settings.
If these settings are correct, the network connection will
be tested with the currently set parameters.
If the test had a positive result, a corresponding message
will be displayed.
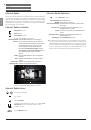
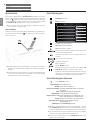
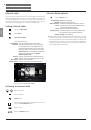
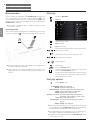
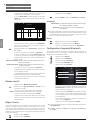
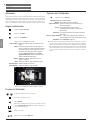
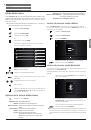
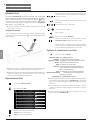
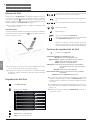
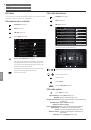
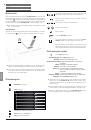
Wireless network
Call up
Change Settings
.
Select desired
Connection type - wireless
for the network
connection.
The following options are now available:
manual
The unit searches for wireless (WLAN-) networks
Confirm selection with
manual
.
The unit now searches for wireless networks in the sur-
roundings. A list of the networks found is then displayed.
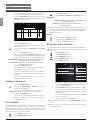
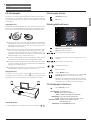
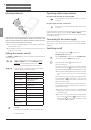
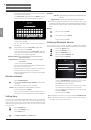
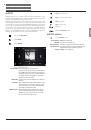
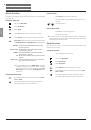
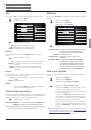
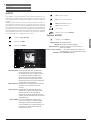
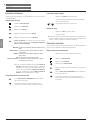
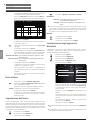
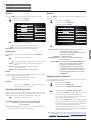
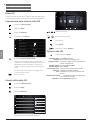
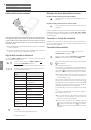
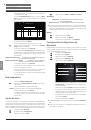
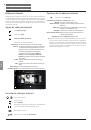
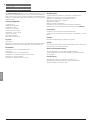
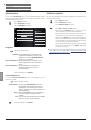
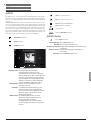
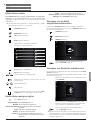
Setting time
The unit's time is automatically updated via time servers in the Internet
(if your home network has access to the Internet). To keep the time
display correct for your region, the deviation from the GMT time (time
zone) and the summer/normal time can be set. You can also set the
time manually.
Call up
Options
menu.
Call up the
Settings
menu.
Select
Time
option.
Set
Mode
-
automatic
or
manual
option.
 1
1
 2
2
 3
3
 4
4
 5
5
 6
6
 7
7
 8
8
 9
9
 10
10
 11
11
 12
12
 13
13
 14
14
 15
15
 16
16
 17
17
 18
18
 19
19
 20
20
 21
21
 22
22
 23
23
 24
24
 25
25
 26
26
 27
27
 28
28
 29
29
 30
30
 31
31
 32
32
 33
33
 34
34
 35
35
 36
36
 37
37
 38
38
 39
39
 40
40
 41
41
 42
42
 43
43
 44
44
 45
45
 46
46
 47
47
 48
48
 49
49
 50
50
 51
51
 52
52
 53
53
 54
54
 55
55
 56
56
 57
57
 58
58
 59
59
 60
60
 61
61
 62
62
 63
63
 64
64
 65
65
 66
66
 67
67
 68
68
 69
69
 70
70
 71
71
 72
72
 73
73
 74
74
 75
75
 76
76
 77
77
 78
78
 79
79
 80
80
 81
81
 82
82
 83
83
 84
84
 85
85
 86
86
 87
87
 88
88
 89
89
 90
90
 91
91
 92
92
 93
93
 94
94
 95
95
 96
96
 97
97
 98
98
 99
99
 100
100
 101
101
 102
102
 103
103
 104
104
 105
105
 106
106
 107
107
 108
108
 109
109
 110
110
 111
111
 112
112
 113
113
 114
114
 115
115
 116
116
 117
117
 118
118
 119
119
 120
120
 121
121
 122
122
 123
123
 124
124
 125
125
 126
126
 127
127
 128
128
 129
129
 130
130
 131
131
 132
132
 133
133
 134
134
 135
135
 136
136
 137
137
 138
138
 139
139
 140
140
 141
141
 142
142
 143
143
 144
144
 145
145
 146
146
 147
147
 148
148
 149
149
 150
150