Management tools
_ 71
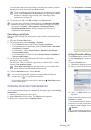
3.
Double-click the
SmarThru
icon.
4.
The
SmarThru
appears.
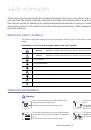
•
Scan to
: Allows you to scan an image and save it to an application
or folder, email it, or publish it on a website.
•
Image
: Allows you to edit an image you have saved as a graphic file
and send it to a selected application or folder, email it, or publish it on
a website.
•
: Allows you to print images you have saved. You can print
images in black and white or color mode if your machine supports it.
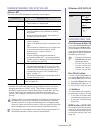
For more information about SmarThru, click
at the top right corner
of the window. The SmarThru help window appears; you can view on
screen help supplied on the SmarThru program.
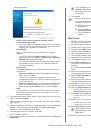
Follow the steps below to uninstall SmarThru.
Before you begin the
uninstall, ensure that all applications are closed on your computer.
a) From the
Start
menu, select
Programs
or
All Programs
.
b) Select
Samsung Printers
>
SmarThru 4
>
Uninstall SmarThru
4
.
c) When your computer asks you to confirm your selection, read the
statement and click
OK
.
d) Click
Finish
.
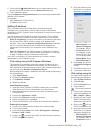
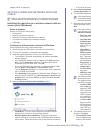
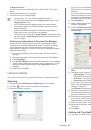
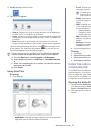
Using SmarThru
Scanning
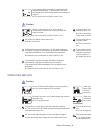
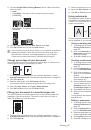
1.
Click
Scan To
.
•
Application
: Scanning an image and placing it in an image editor
application such as Paint or Adobe Photoshop.
•
: Scanning an image and emailing it. Allows you to scan
an image, preview it, and email it.
To send an image by e-mail, you must have a mail client
program, like Outlook Express, which has been set up with
your e-mail account.
•
Folder
: Scanning an image and saving it to a folder. Allows you
to scan an image, preview it, and save it to the folder of your
choice.
•
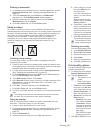
OCR
: Scanning an image and performing text recognition. Allows
you to scan an image, preview it, and send it to the OCR program
for text recognition.
-
Recommended scan option for OCR.
-
Resolution: 200 or 300 dpi.
-
Image type: grayscale or black & white.
•
Web
: Scanning an image, previewing it, and publishing it on a
website, using the specified file format for the image you want to
publish.
•
Settings
: Customizing settings of
Scan To
basic functions.
Allows you to customize settings for
Application
,
,
OCR
,
and
Web
functions.
2.
Set scan settings and click
Scan
.
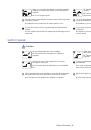
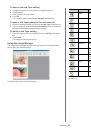
Printing
1.
Click
.
2.
Select the file you want to print.
3.
Select the machine you want to use for printing.
4.
Click
to start the job.
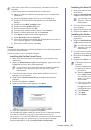
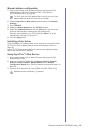
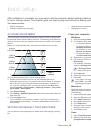
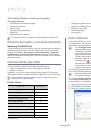
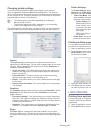
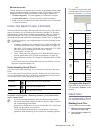
USING THE LINUX UNIFIED DRIVER
CONFIGURATOR
The Unified Driver Configurator is a tool primarily intended for configuring
machine devices. You need to install Unified Linux Driver to use Unified
Driver Configurator (See "Installing the Unified Linux Driver" on page 28).
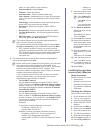
After the driver is installed on your Linux system, the Unified Driver
Configurator icon will automatically be created on your desktop
.
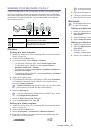
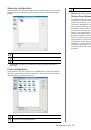
Opening the Unified Driver Configurator
1.
Double-click the
Unified Driver Configurator
on the desktop.
You can also click the
Startup
Menu icon and select
Samsung Unified
Driver
>
Unified Driver Configurator
.
2.
Click each button on the left to switch to the corresponding configuration
window.