Deep Editing & MIDI Control:
S
TEP
-B
Y
-S
TEP
WITH
S
OUND
D
IVER
8•11
Step 5 -
SoundDiver should now establish communication with your POD (like we
said above, make sure you have both MIDI In and MIDI Out connected to allow this),
and will give you a dialogue box asking if you’d like to “Request Device’s Memories?”
OK this dialogue, and SoundDiver sucks all the sounds out of your POD, and opens
them in a window titled “POD” or something similarly inventive.
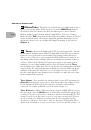
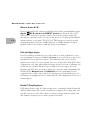
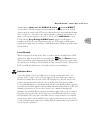
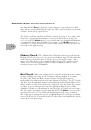
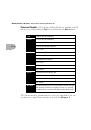
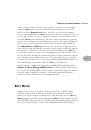
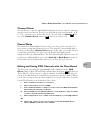
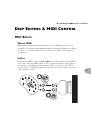
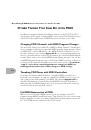
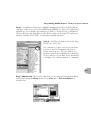
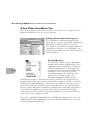
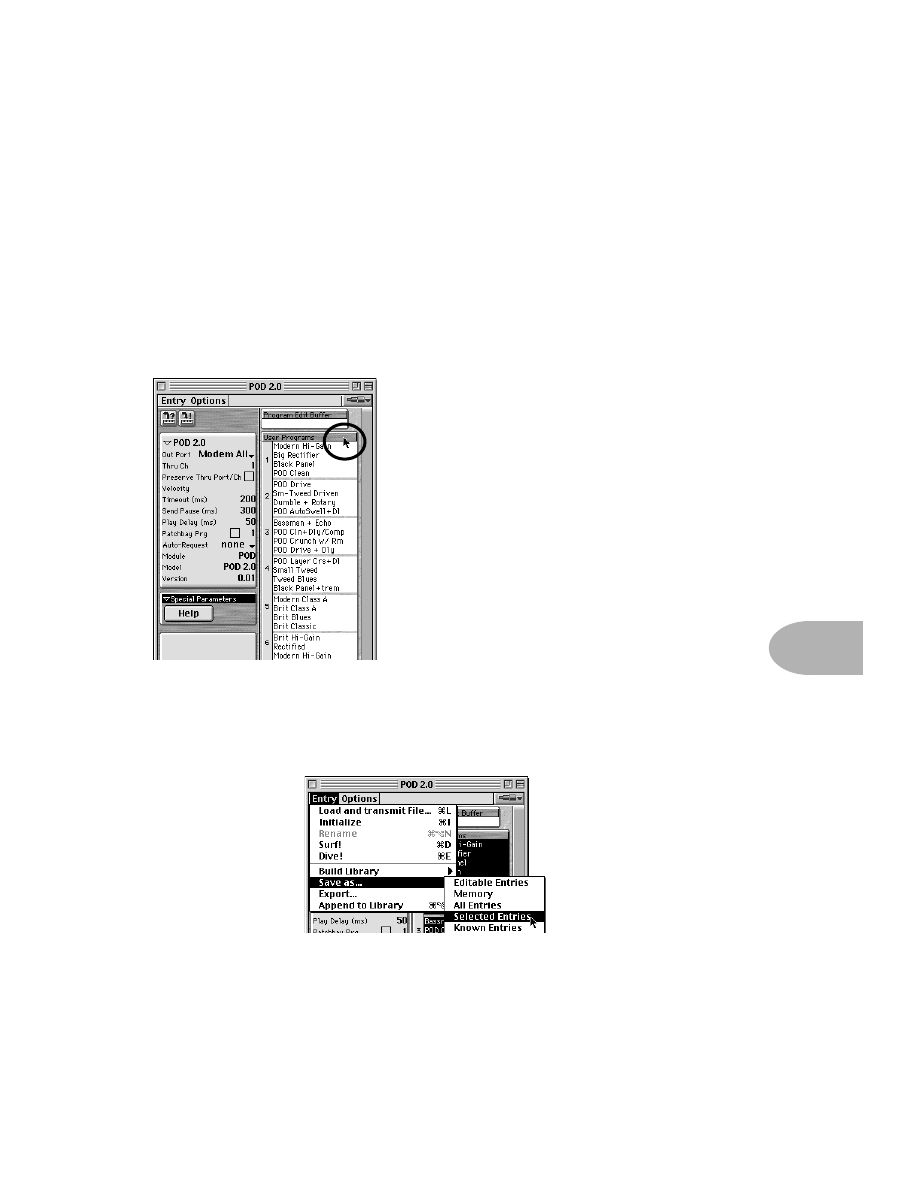
Step 6 -
You’ll have a window that looks about
like the one on the left.
Use your mouse to move your on-screen arrow
pointer to the User Programs header bar as
shown, and click once. The list of all 32 user
memories will then be highlighted to show that
they are all selected (clicking on the header bar
is a handy “select all user memories” command).
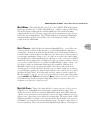
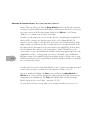
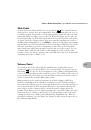
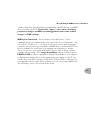
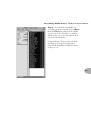
Step 7 (Macintosh) -
Now, notice that there are two menus in this window: Entry
and Options. From the
Entry
menu, choose
Save as...
>
Selected Entries
, as
shown below: