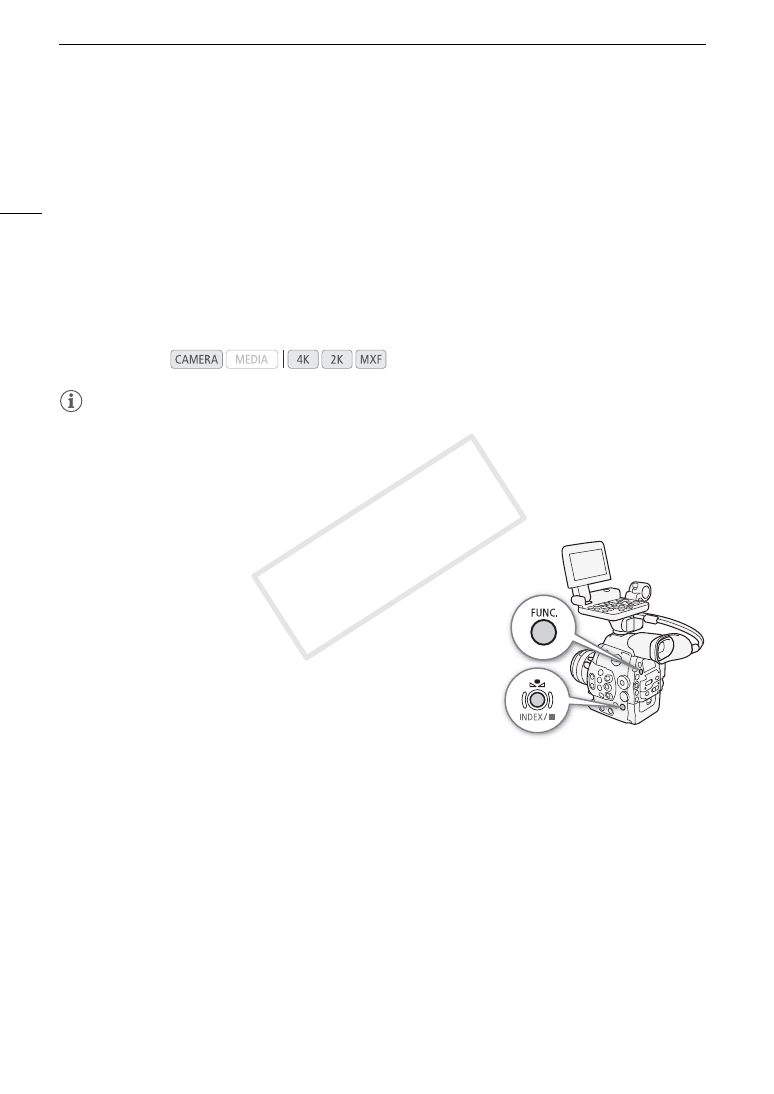
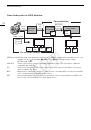
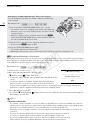
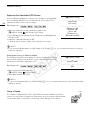
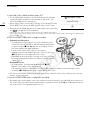
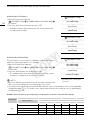
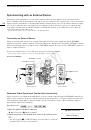
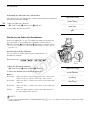
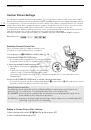
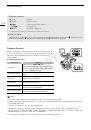
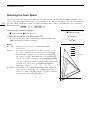
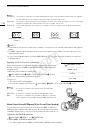
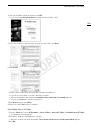
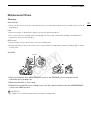
White Balance
76
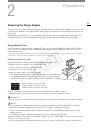
White Balance
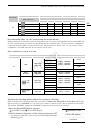
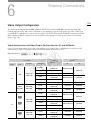
The camera uses an electronic white balance process to calibrate the picture and ensure accurate colors under
different lighting conditions. There are 3 methods of setting the white balance.
Custom white balance: You can use a white object to establish the white balance and set it to one of two custom
white balance positions,
Å
A or
Å
B.
Set color temperature: Allows you to set the color temperature between 2,000 K and 15,000 K.
Preset white balance: Set the white balance to
¼
(daylight) or
É
(incandescent lamp). Preset white balance
settings can be further fine-tuned within a range of -9 to 9.
When recording under fluorescent lights, we recommend setting the custom white balance.
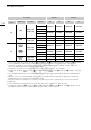
NOTES
• When recording on a CF card, the [Color Matrix] and [White Balance] custom picture settings (
A
120) take
precedence over the white balance settings.
• You can use the [
w
Other Functions]
>
[Custom Function]
>
[Shockless WB] setting (
A
122) to make the
transition look smoother when you change the white balance settings.
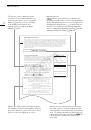
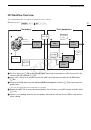
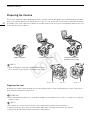
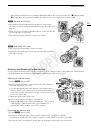
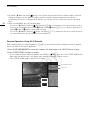
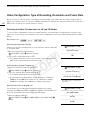
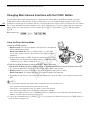
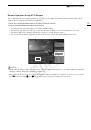
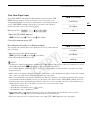
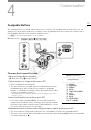
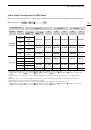
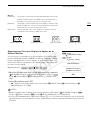
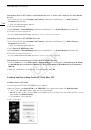
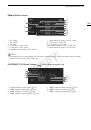
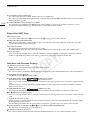
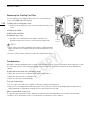
Setting the White Balance
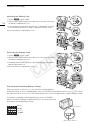
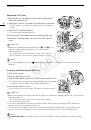
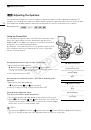
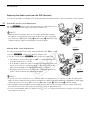
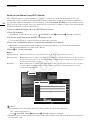
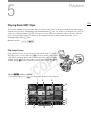
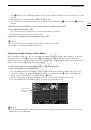
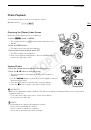
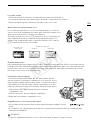
1 Set the white balance mode using the direct setting mode.
• Press the FUNC. button to highlight the white balance icon and select
the desired white balance mode.
• To apply the setting as it is, press SET. To establish the custom white
balance, fine-tune the preset white balance settings or change the
color temperature, continue the procedure as described below before
pressing SET.
• For details refer to
Using the Direct Setting Mode
(
A
66).
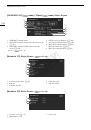
If you selected one of the custom white balance settings
Å
A
or
Å
B:
If a custom white balance has not yet been stored, the custom white
balance icon
Å
A or
Å
B and default value (5,500 K) will flash slowly.
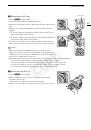
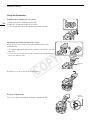
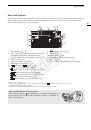
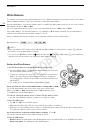
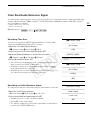
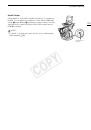
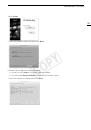
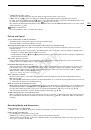
To establish the custom white balance:
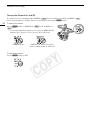
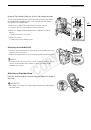
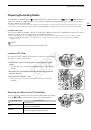
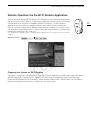
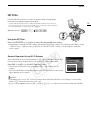
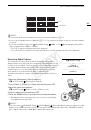
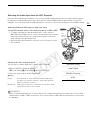
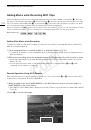
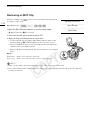
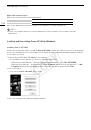
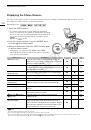
2 Point the camera at a white object so that it fills the whole screen.
• Use the same lighting conditions you plan to use when recording.
3 Press the
Å
button.
• The
Å
A or
Å
B icon will flash quickly.
• Make sure the white object fills the screen until the procedure is completed.
• After the icon stops flashing, the procedure is completed and the camera will exit the direct setting mode.
The setting is retained even if you turn off the camera.
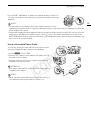
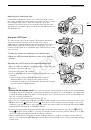
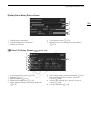
If you selected one of the preset white balance settings,
¼
or
É
:
You can fine-tune the preset values within a range of -9 to 9.
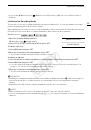
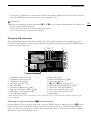
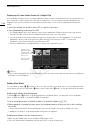
2 Press the
Å
button.
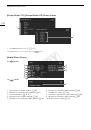
•
On the screen:
The adjustment value ±0 will appear next to the white balance icon, highlighted in orange.
On the rear panel:
The adjustment value ±0 will appear.
Operating modes:
COP
Y
 1
1
 2
2
 3
3
 4
4
 5
5
 6
6
 7
7
 8
8
 9
9
 10
10
 11
11
 12
12
 13
13
 14
14
 15
15
 16
16
 17
17
 18
18
 19
19
 20
20
 21
21
 22
22
 23
23
 24
24
 25
25
 26
26
 27
27
 28
28
 29
29
 30
30
 31
31
 32
32
 33
33
 34
34
 35
35
 36
36
 37
37
 38
38
 39
39
 40
40
 41
41
 42
42
 43
43
 44
44
 45
45
 46
46
 47
47
 48
48
 49
49
 50
50
 51
51
 52
52
 53
53
 54
54
 55
55
 56
56
 57
57
 58
58
 59
59
 60
60
 61
61
 62
62
 63
63
 64
64
 65
65
 66
66
 67
67
 68
68
 69
69
 70
70
 71
71
 72
72
 73
73
 74
74
 75
75
 76
76
 77
77
 78
78
 79
79
 80
80
 81
81
 82
82
 83
83
 84
84
 85
85
 86
86
 87
87
 88
88
 89
89
 90
90
 91
91
 92
92
 93
93
 94
94
 95
95
 96
96
 97
97
 98
98
 99
99
 100
100
 101
101
 102
102
 103
103
 104
104
 105
105
 106
106
 107
107
 108
108
 109
109
 110
110
 111
111
 112
112
 113
113
 114
114
 115
115
 116
116
 117
117
 118
118
 119
119
 120
120
 121
121
 122
122
 123
123
 124
124
 125
125
 126
126
 127
127
 128
128
 129
129
 130
130
 131
131
 132
132
 133
133
 134
134
 135
135
 136
136
 137
137
 138
138
 139
139
 140
140
 141
141
 142
142
 143
143
 144
144
 145
145
 146
146
 147
147
 148
148
 149
149
 150
150
 151
151
 152
152
 153
153
 154
154
 155
155
 156
156
 157
157
 158
158
 159
159
 160
160
 161
161
 162
162
 163
163
 164
164
 165
165
 166
166
 167
167
 168
168
 169
169
 170
170
 171
171
 172
172
 173
173
 174
174
 175
175
 176
176
 177
177
 178
178
 179
179
 180
180
 181
181
 182
182
 183
183
 184
184
 185
185
 186
186
 187
187
 188
188
 189
189
 190
190
 191
191
 192
192
 193
193
 194
194
 195
195
 196
196
 197
197
 198
198
 199
199
 200
200
 201
201
 202
202
 203
203
 204
204
 205
205
 206
206
 207
207
 208
208
 209
209
 210
210
 211
211
 212
212