3. Setting up the client software
- 39 -
3
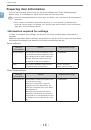
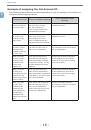
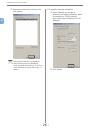
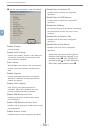
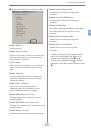
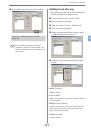
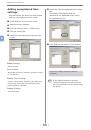
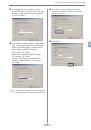
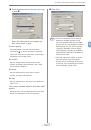
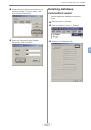
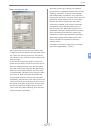
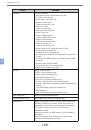
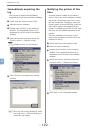
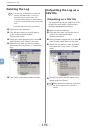
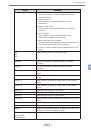
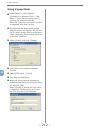
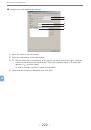
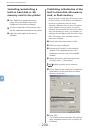
Hide
Even if printing is performed on the shared
printer client side, the input window is not
displayed. Use the hide mode for shared
printers. The system administrator creates an ID
file that contains the Job Account ID and User
Name that correspond to the Windows login user
in advance. By specifying this file with the client
software, the user that performed the printing
is identified, and the corresponding Job Account
ID is automatically acquired. Furthermore, the
same Job Account ID can be set for all login
users. The users do not need to configure
settings or to know their own Job Account ID.
When using the Windows computer as a print
server and the printer as a shared printer, install
and use the client software onto the computer to
be used as a print server.
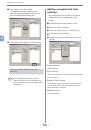
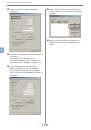
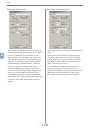
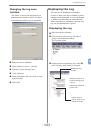
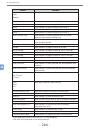
Not supported
Users identification is not performed, and all
jobs are recognized as Unregistered ID. The
User Name is the user name used to login to
windows, and the Job Account ID is 0. Used
when user recognition is not needed.
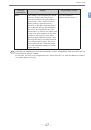
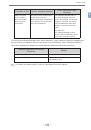
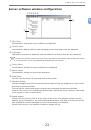
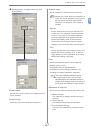
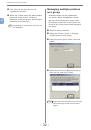
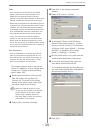
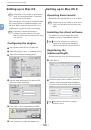
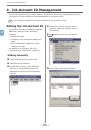
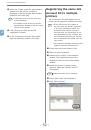
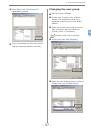
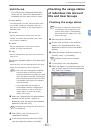
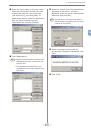
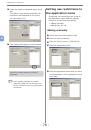
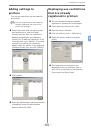
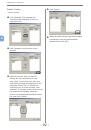
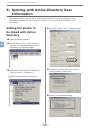
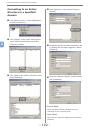
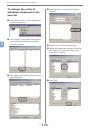
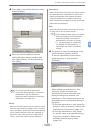
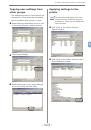
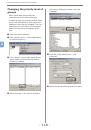
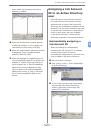
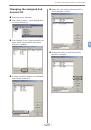
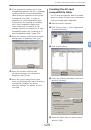
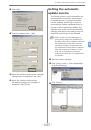
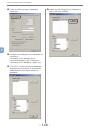
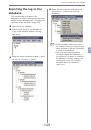
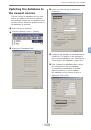
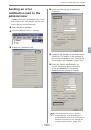
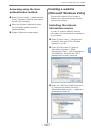
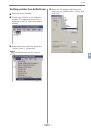
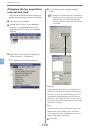
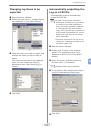
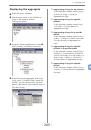
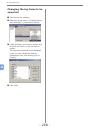
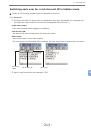
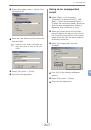
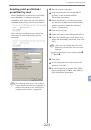
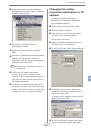
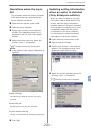
This section explains how to set the tab
mode. For details on how to change other
modes, see "Changing Job Accounting
Mode" (page 130).
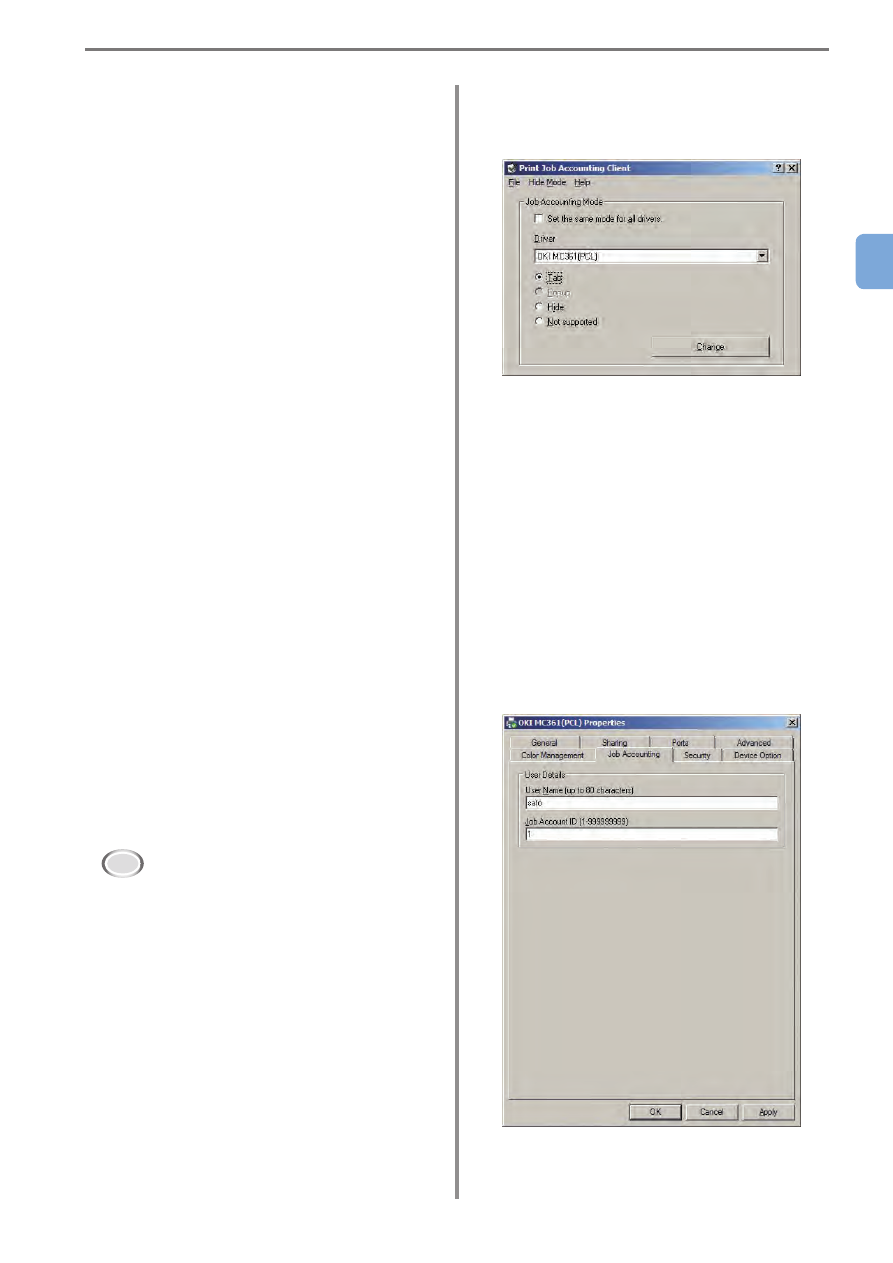
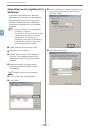
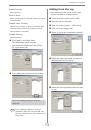
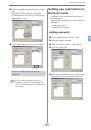
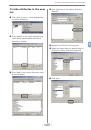
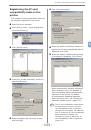
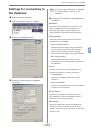
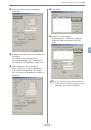
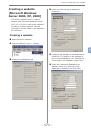
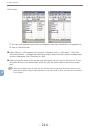
1
Select the printer driver of the printer
that will acquire the log from the
[Driver] list. To set all of the printer
drivers to the same mode, check [Set
the same mode for all drivers].
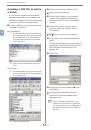
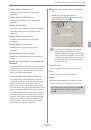
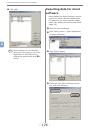
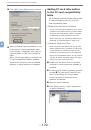
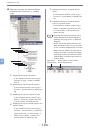
Note!
When the shared printer is used,
do not use the function that sets all
printer drivers to the same mode.
When using a shared printer on
the client side to print, the account
information is not output.
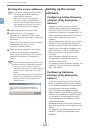
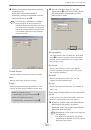
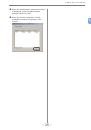
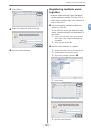
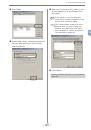
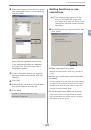
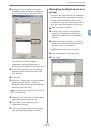
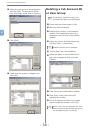
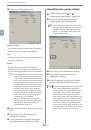
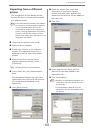
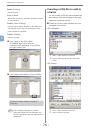
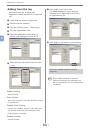
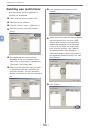
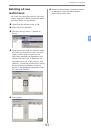
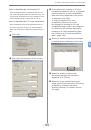
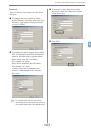
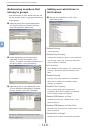
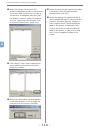
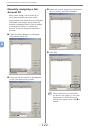
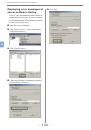
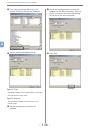
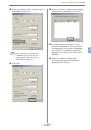
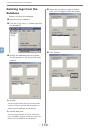
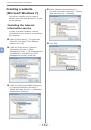
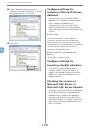
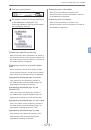
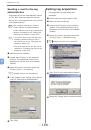
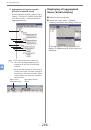
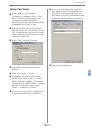
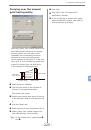
2
Select [Tab], and click [Change].
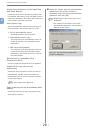
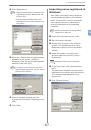
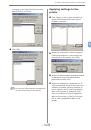
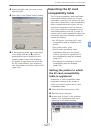
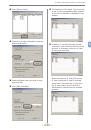
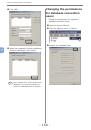
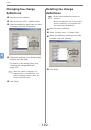
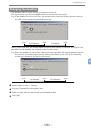
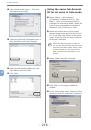
3
Click [OK] in the change successful
window.
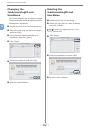
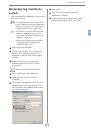
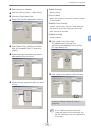
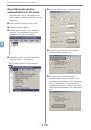
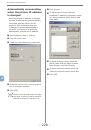
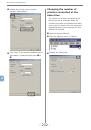
4
Select [File] menu > [Close].
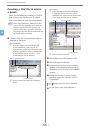
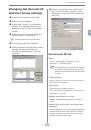
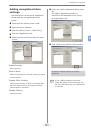
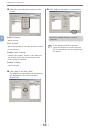
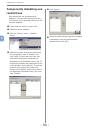
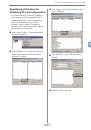
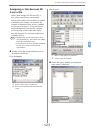
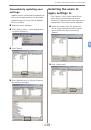
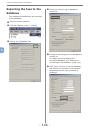
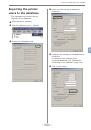
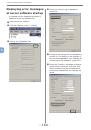
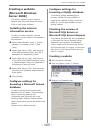
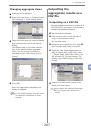
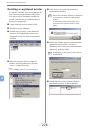
5
In Windows 7/Server 2008 R2/Vista/
Server 2008m select [Start] > [Control
Panel], and click [Printer]. (For Windows
XP/Server 2003, select [Start] > [Printers
and FAX]. In Windows 2000, select
[Start] > [Settings] > [Printer]. )
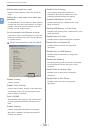
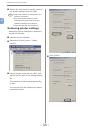
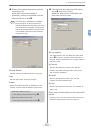
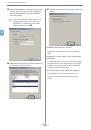
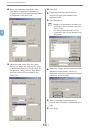
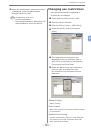
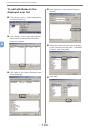
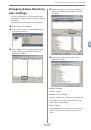
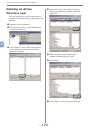
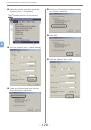
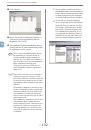
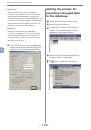
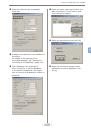
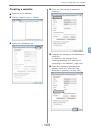
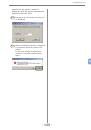
6
On the printer driver icon, right-click the
mouse button and select [Properties].
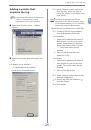
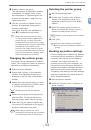
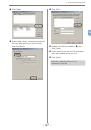
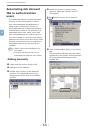
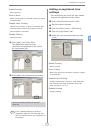
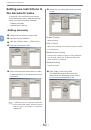
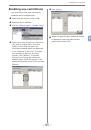
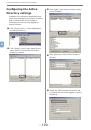
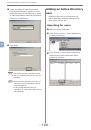
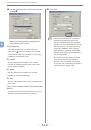
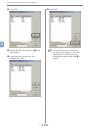
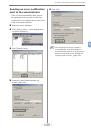
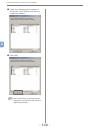
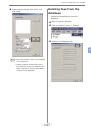
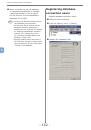
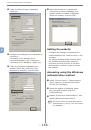
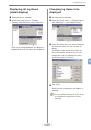
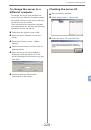
7
In the [Job Accounting] tab, enter the
User Name and Job Account ID.
In the default settings, the User Name is
the user name used to login to Windows,
and the Job Account ID is 1.
8
Click [OK].
 1
1
 2
2
 3
3
 4
4
 5
5
 6
6
 7
7
 8
8
 9
9
 10
10
 11
11
 12
12
 13
13
 14
14
 15
15
 16
16
 17
17
 18
18
 19
19
 20
20
 21
21
 22
22
 23
23
 24
24
 25
25
 26
26
 27
27
 28
28
 29
29
 30
30
 31
31
 32
32
 33
33
 34
34
 35
35
 36
36
 37
37
 38
38
 39
39
 40
40
 41
41
 42
42
 43
43
 44
44
 45
45
 46
46
 47
47
 48
48
 49
49
 50
50
 51
51
 52
52
 53
53
 54
54
 55
55
 56
56
 57
57
 58
58
 59
59
 60
60
 61
61
 62
62
 63
63
 64
64
 65
65
 66
66
 67
67
 68
68
 69
69
 70
70
 71
71
 72
72
 73
73
 74
74
 75
75
 76
76
 77
77
 78
78
 79
79
 80
80
 81
81
 82
82
 83
83
 84
84
 85
85
 86
86
 87
87
 88
88
 89
89
 90
90
 91
91
 92
92
 93
93
 94
94
 95
95
 96
96
 97
97
 98
98
 99
99
 100
100
 101
101
 102
102
 103
103
 104
104
 105
105
 106
106
 107
107
 108
108
 109
109
 110
110
 111
111
 112
112
 113
113
 114
114
 115
115
 116
116
 117
117
 118
118
 119
119
 120
120
 121
121
 122
122
 123
123
 124
124
 125
125
 126
126
 127
127
 128
128
 129
129
 130
130
 131
131
 132
132
 133
133
 134
134
 135
135
 136
136
 137
137
 138
138
 139
139
 140
140
 141
141
 142
142
 143
143
 144
144
 145
145
 146
146
 147
147
 148
148
 149
149
 150
150
 151
151
 152
152
 153
153
 154
154
 155
155
 156
156
 157
157
 158
158
 159
159
 160
160
 161
161
 162
162
 163
163
 164
164
 165
165
 166
166
 167
167
 168
168
 169
169
 170
170
 171
171
 172
172
 173
173
 174
174
 175
175
 176
176
 177
177
 178
178
 179
179
 180
180
 181
181
 182
182
 183
183
 184
184
 185
185
 186
186
 187
187
 188
188
 189
189
 190
190
 191
191
 192
192
 193
193
 194
194
 195
195
 196
196
 197
197
 198
198
 199
199
 200
200
 201
201
 202
202
 203
203
 204
204
 205
205
 206
206
 207
207
 208
208
 209
209
 210
210
 211
211
 212
212
 213
213
 214
214
 215
215
 216
216
 217
217
 218
218
 219
219
 220
220
 221
221
 222
222
 223
223
 224
224
 225
225
 226
226
 227
227
 228
228
 229
229
 230
230
 231
231
 232
232
 233
233
 234
234
 235
235
 236
236
 237
237
 238
238
 239
239