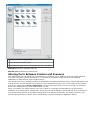
5.
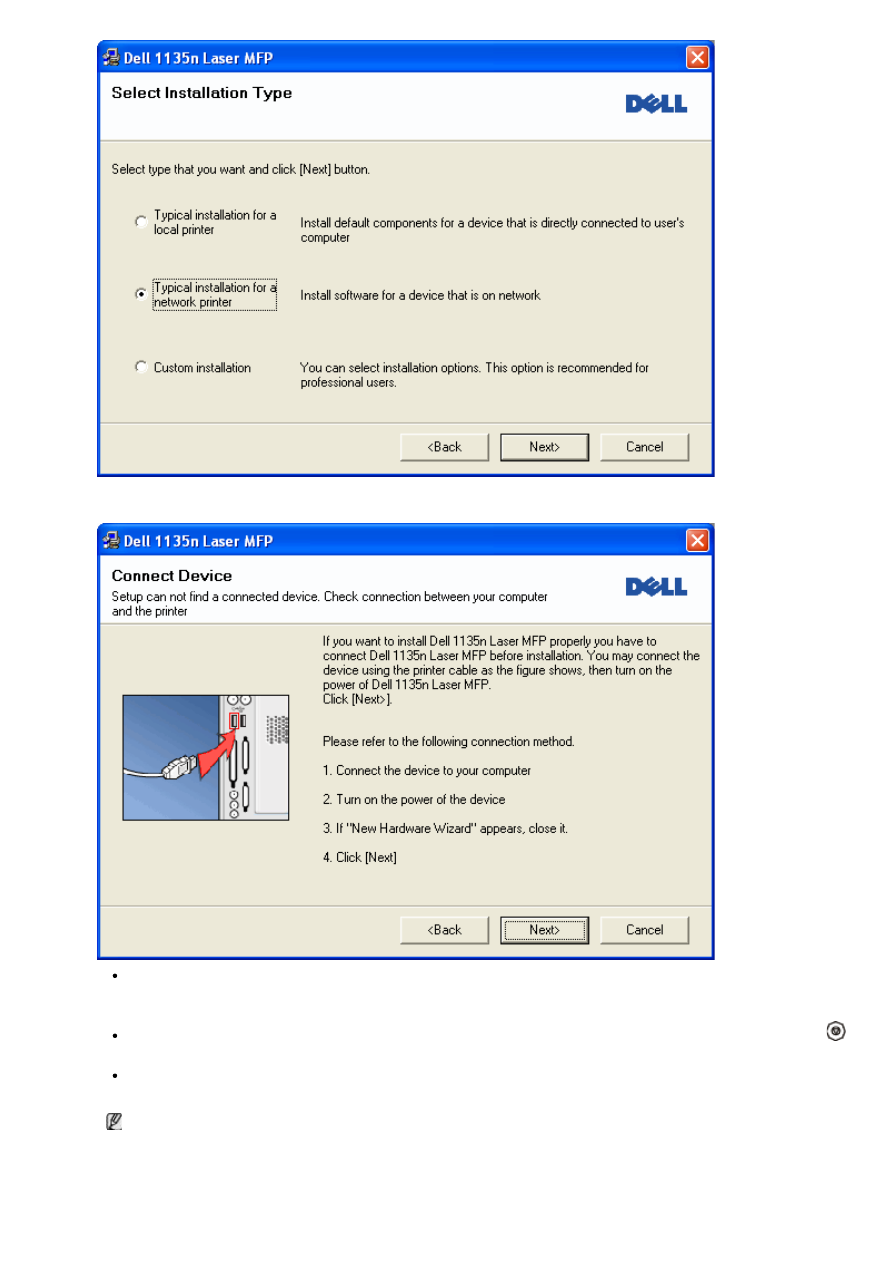
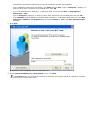
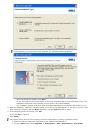
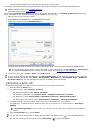
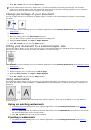
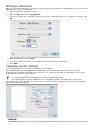
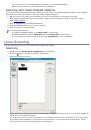
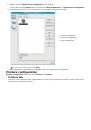
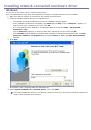
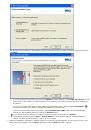
The list of printers available on the network appears. Select the printer you want to install from the list and then
click
Next
.
If you do not see your printer on the list, click
Update
to refresh the list, or select
Add TCP/IP Port
to add
your printer to the network. To add the printer to the network, enter the port name and the IP address for
the printer.
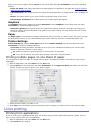
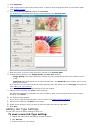
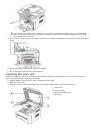
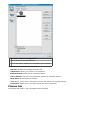
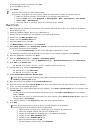
To verify your printer’s IP address, print a Network Configuration page. (By pressing the
Stop/Clear
(
)
for about 5 seconds, then release. (Example IP Address is 13.121.52.104)
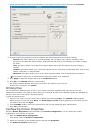
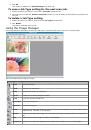
To find a shared network printer (UNC Path), select
Shared Printer [UNC
] and enter the shared name
manually or find a shared printer by clicking the
Browse
button.
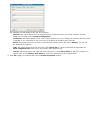
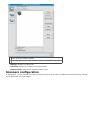
If you cannot find your machine in network, please turn off the firewall and click
Update
.
For Windows operating system,
Start
>
Control Panel
and start windows firewall, and deactivate this
option. For other operating system, refer to its on-line guide.
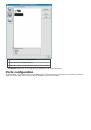
6.
After the installation is finished, a window asking you to print a test page appears. If you choose to print a test
page, select the checkbox and click
Next
. Otherwise, just click
Next
and skip to step 8.
 1
1
 2
2
 3
3
 4
4
 5
5
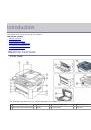 6
6
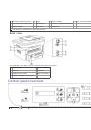 7
7
 8
8
 9
9
 10
10
 11
11
 12
12
 13
13
 14
14
 15
15
 16
16
 17
17
 18
18
 19
19
 20
20
 21
21
 22
22
 23
23
 24
24
 25
25
 26
26
 27
27
 28
28
 29
29
 30
30
 31
31
 32
32
 33
33
 34
34
 35
35
 36
36
 37
37
 38
38
 39
39
 40
40
 41
41
 42
42
 43
43
 44
44
 45
45
 46
46
 47
47
 48
48
 49
49
 50
50
 51
51
 52
52
 53
53
 54
54
 55
55
 56
56
 57
57
 58
58
 59
59
 60
60
 61
61
 62
62
 63
63
 64
64
 65
65
 66
66
 67
67
 68
68
 69
69
 70
70
 71
71
 72
72
 73
73
 74
74
 75
75
 76
76
 77
77
 78
78
 79
79
 80
80
 81
81
 82
82
 83
83
 84
84
 85
85
 86
86
 87
87
 88
88
 89
89
 90
90
 91
91
 92
92
 93
93
 94
94
 95
95
 96
96
 97
97
 98
98
 99
99
 100
100
 101
101
 102
102
 103
103
 104
104
 105
105
 106
106
 107
107
 108
108
 109
109
 110
110
 111
111
 112
112
 113
113
 114
114
 115
115
 116
116
 117
117
 118
118
 119
119
 120
120
 121
121
 122
122
 123
123
 124
124
 125
125
 126
126
 127
127
 128
128
 129
129
 130
130
 131
131
 132
132
 133
133
 134
134
 135
135
 136
136
 137
137
 138
138
Инструкции и руководства похожие на DELL 1135n