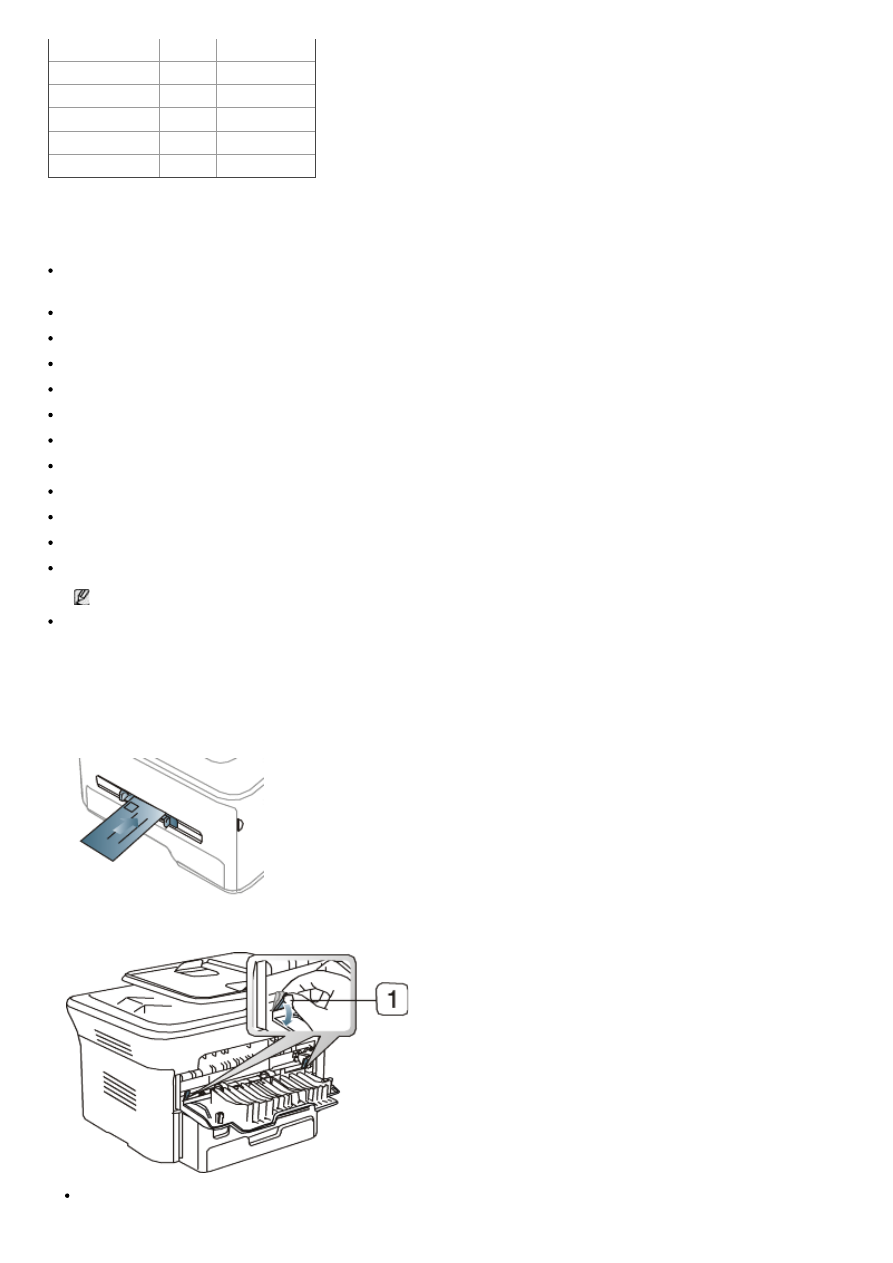
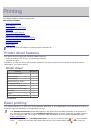
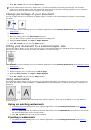
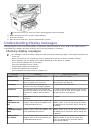
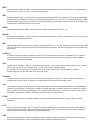
Transparency
?
Envelope
?
Preprinted
?
Cotton
?
Recycled
?
?
Archive
?
?
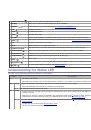
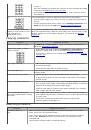
(?: supported, Blank: not supported)
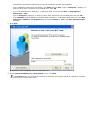
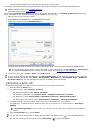
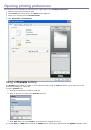
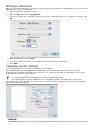
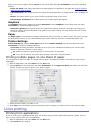
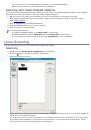
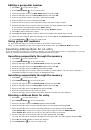
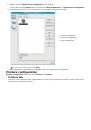
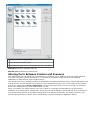
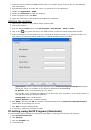
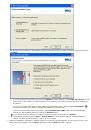
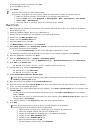
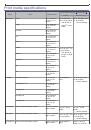
The media types are shown in the
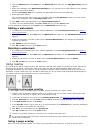
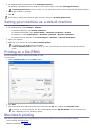
Printing Preferences
. This paper type option allows you to set the type of paper to
be loaded in the tray. This setting appears in the list, so that you can select it. This will let you get the best quality
printout. If not, the desired print quality may not be achieved.
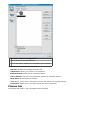
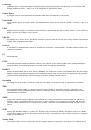
Plain:
Normal plain paper. Select this type if your machine is monochrome and printing on the 60 to 90 g/m
2
(16
to 24 lb).
Thick:
90 to 105 g/m
2
(24 to 28 lb) thick paper.
Thin:
60 to 70 g/m
2
(16 to 19 lb) thin paper.
Bond:
105 to 120 g/m
2
(28 to 32 lb) bond.
Color:
75 to 90 g/m
2
(20 to 24 lb) color-backgrounded paper.
CardStock:
90 to 163 g/m
2
(24 to 43 lb) cardstock.
Labels:
120 to 150 g/m
2
(32 to 40 lb) labels.
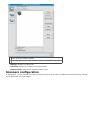
Transparency:
138 to 146 g/m
2
(37 to 39 lb) transparency paper.
Envelope:
75 to 90 g/m
2
(20 to 24 lb) envelope.
Preprinted:
75 to 90 g/m
2
(20 to 24 lb) preprinted/letterhead paper.
Cotton:
75 to 90 g/m
2
(20 to 24 lb) cotton paper.
Recycled:
75 to 90 g/m
2
(20 to 24 lb) recycled paper.
When you use recycled paper as a used paper, printouts might be wrinkled.
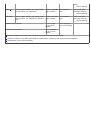
Archive:
70 to 90 g/m
2
(19 to 24 lb). If you need to keep the print-out for a long period time, such as archives,
select this option.
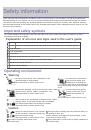
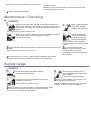
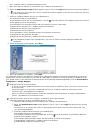
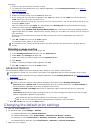
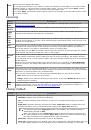
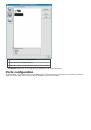
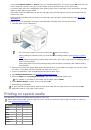
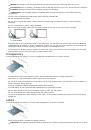
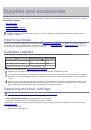
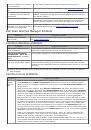
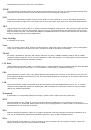
Envelope
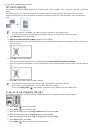
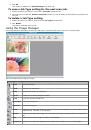
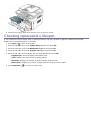
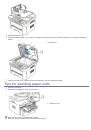
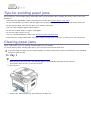
Successful printing on envelopes depends upon the quality of the envelopes.
To print an envelope, the stamp area is on the left side and the end of the envelope with the stamp area enters the
printer first and the envelope in the center of the manual tray with the stamp area entering the printer first and
keeping the stamp on the left.
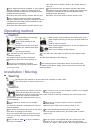
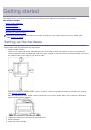
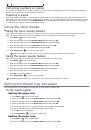
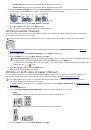
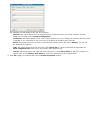
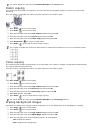
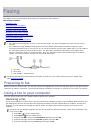
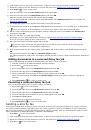
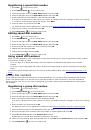
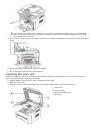
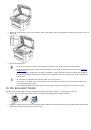
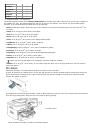
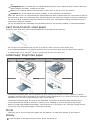
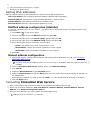
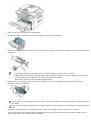
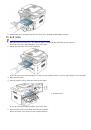
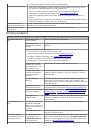
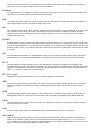
If envelopes are printed out with wrinkles, crease or black bold lines, open the rear cover and pull down the pressure
lever and try printing again. Keep the rear cover opened during printing.
1.
Pressure lever
When selecting envelopes, consider the following factors:
 1
1
 2
2
 3
3
 4
4
 5
5
 6
6
 7
7
 8
8
 9
9
 10
10
 11
11
 12
12
 13
13
 14
14
 15
15
 16
16
 17
17
 18
18
 19
19
 20
20
 21
21
 22
22
 23
23
 24
24
 25
25
 26
26
 27
27
 28
28
 29
29
 30
30
 31
31
 32
32
 33
33
 34
34
 35
35
 36
36
 37
37
 38
38
 39
39
 40
40
 41
41
 42
42
 43
43
 44
44
 45
45
 46
46
 47
47
 48
48
 49
49
 50
50
 51
51
 52
52
 53
53
 54
54
 55
55
 56
56
 57
57
 58
58
 59
59
 60
60
 61
61
 62
62
 63
63
 64
64
 65
65
 66
66
 67
67
 68
68
 69
69
 70
70
 71
71
 72
72
 73
73
 74
74
 75
75
 76
76
 77
77
 78
78
 79
79
 80
80
 81
81
 82
82
 83
83
 84
84
 85
85
 86
86
 87
87
 88
88
 89
89
 90
90
 91
91
 92
92
 93
93
 94
94
 95
95
 96
96
 97
97
 98
98
 99
99
 100
100
 101
101
 102
102
 103
103
 104
104
 105
105
 106
106
 107
107
 108
108
 109
109
 110
110
 111
111
 112
112
 113
113
 114
114
 115
115
 116
116
 117
117
 118
118
 119
119
 120
120
 121
121
 122
122
 123
123
 124
124
 125
125
 126
126
 127
127
 128
128
 129
129
 130
130
 131
131
 132
132
 133
133
 134
134
 135
135
 136
136
 137
137
 138
138
Инструкции и руководства похожие на DELL 1135n