Reference ID 40-55
- 12 -
User guide
Installing the TV set
Mounting options
Your Loewe specialist dealer can assist you in finding other mount-
ing options that correspond to your needs. Use exclusively Loewe
mounting options (e.g., wall bracket, floor stand), which you will find
in the chapter entitled Accessories - Mounting options on page 147.
After you have decided on a mounting option, follow the directions
found in the corresponding assembly instructions.
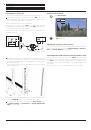
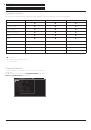
Installation notes
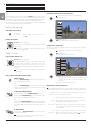
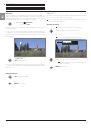
Choose a place for installing your TV set where no bright light or
sunlight shines directly onto the screen. This could cause reflections
which impair the picture.
3 times the screen diagonal can be taken as a guide value for the view-
ing distance (e.g., for a 46-inch set approx. 3.5 m for SD signal). The
viewing distance can be reduced with an HD signal.
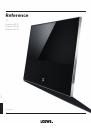
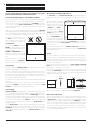
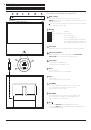
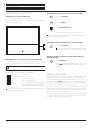
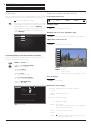
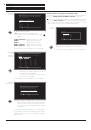
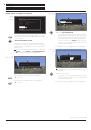
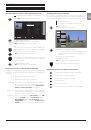
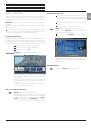
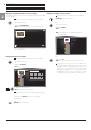
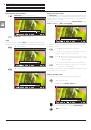
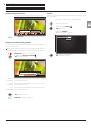
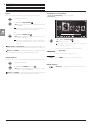
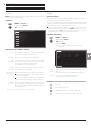
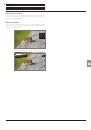
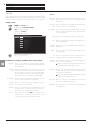
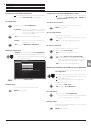
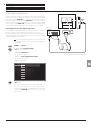
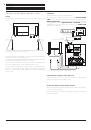
Set covers
Covers for rear and side connections
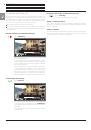
In order to remove the rear side cable cover pull them simply from
the device.
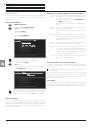
To attach the cable cover, place the lugs of the cover at the correspond-
ing cut-outs in the rear panel.
Press the cover into the cutouts until the lugs snap into the device.
Press only on the exact positions where the lugs are (see figure for the
positions), otherwise the glass rear panel may be damaged.
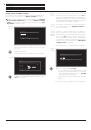
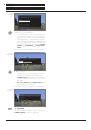
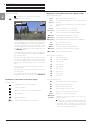
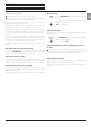
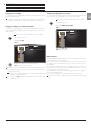
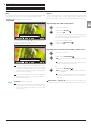
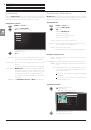
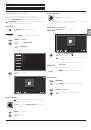
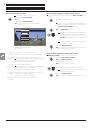
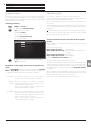
The side cover of the TV set can also be completely removed. For this,
open it as far as it will go and gently pull on the open cover.
The cover detaches from the holder and gives free access to the
connection area. To replace the cover, simply push it until it latches
back into place.
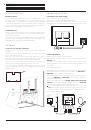
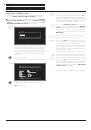
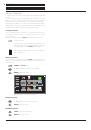
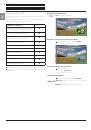
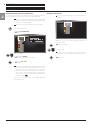
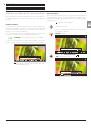
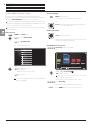
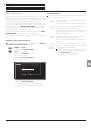
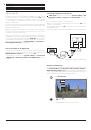
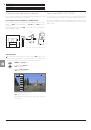
Connecting the TV set
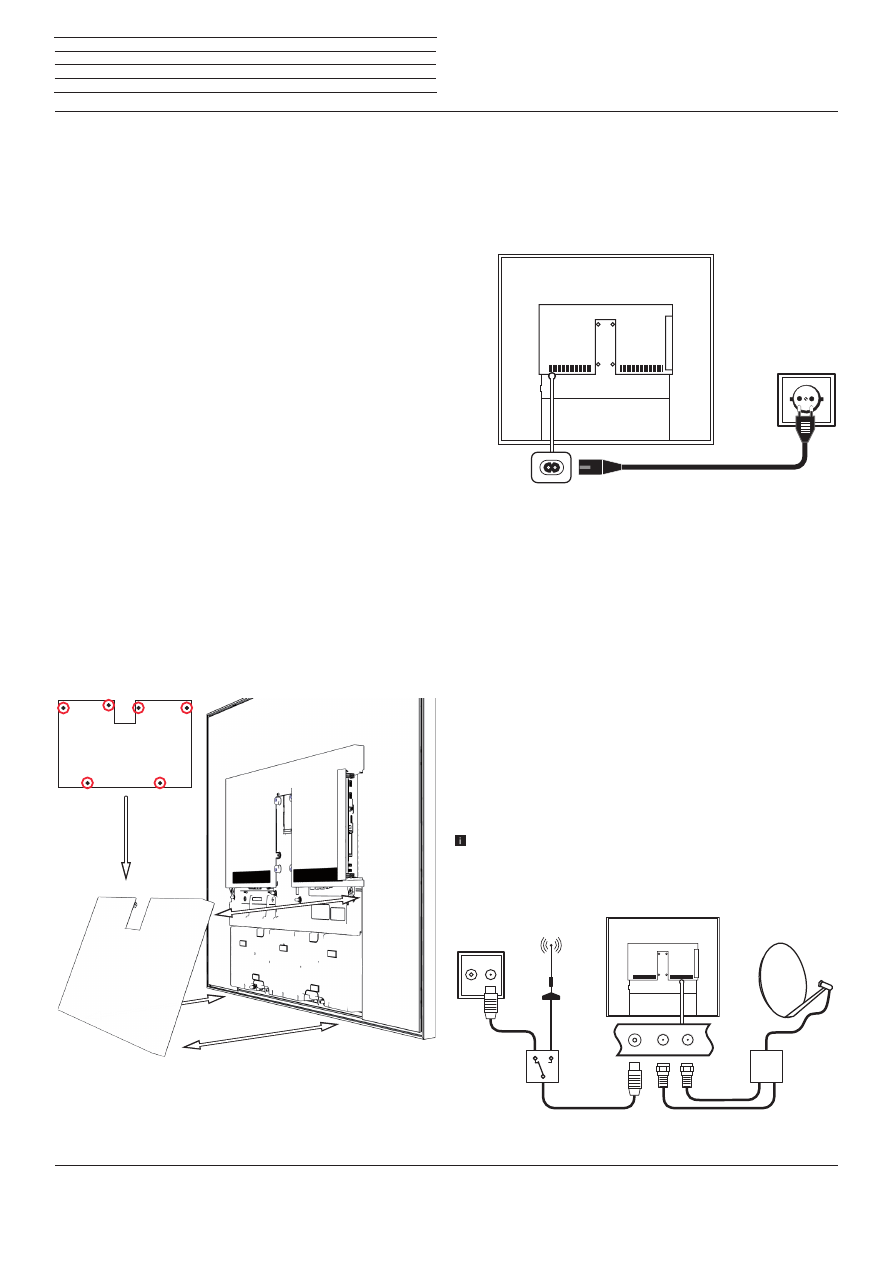
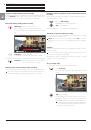
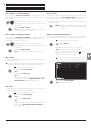
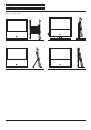
Connecting to the mains supply
Remove the cover for the connections.
Connect the TV set to a 220-240V mains socket:
First plug the small plug of the power cable into the mains connection
on the back of the TV and then the large mains plug into a mains socket.
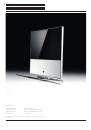
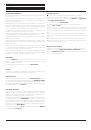
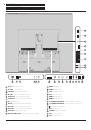
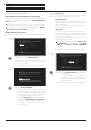
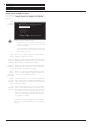
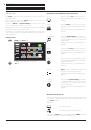
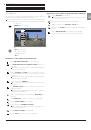
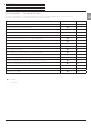
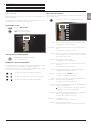
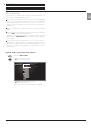
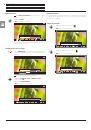
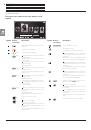
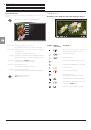
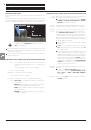
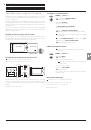
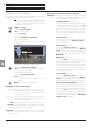
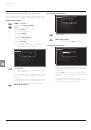
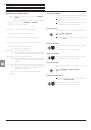
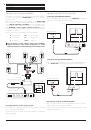
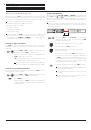
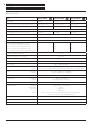
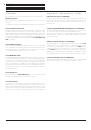
Connecting antennas
Cable (analogue) / DVB-C / DVB-T antenna:
Plug the cable of antenna, cable TV system or room antenna into the
ANT TV
socket.
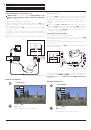
If you want to use analogue cables / DVB-C connection and a DVB-T
antenna together, use an external antenna switch (available from
your dealer).
Satellite antenna DVB-S:
Depending on the used satellite system, connect a connecting cable
from the multi-switch or directly from the LNC to the
ANT-SAT
and
ANT-SAT2
sockets of the TV set respectively.
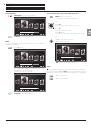
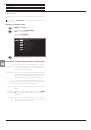
When connecting the TV set to a single cable community antenna,
connect the
ANT-SAT
and
ANT-SAT2
sockets directly to the appro-
priate SAT antenna socket.
When connecting the TV set to a
DiSEqC single cable community
antenna
(in accordance with EN 50494), connect the
ANT-SAT
socket directly to the appropriate SAT antenna socket.
In case of a DiSEqC one cable communal system you require only
one
antenna cable. Further distribution of the signal to the two
reception routes is accomplished by the TV set's satellite tuner.
Ask your dealer in this regard.
R TV
DVB-T
DVB-S
Cable
analogue /
DVB-C
n
Preparing the TV set
 1
1
 2
2
 3
3
 4
4
 5
5
 6
6
 7
7
 8
8
 9
9
 10
10
 11
11
 12
12
 13
13
 14
14
 15
15
 16
16
 17
17
 18
18
 19
19
 20
20
 21
21
 22
22
 23
23
 24
24
 25
25
 26
26
 27
27
 28
28
 29
29
 30
30
 31
31
 32
32
 33
33
 34
34
 35
35
 36
36
 37
37
 38
38
 39
39
 40
40
 41
41
 42
42
 43
43
 44
44
 45
45
 46
46
 47
47
 48
48
 49
49
 50
50
 51
51
 52
52
 53
53
 54
54
 55
55
 56
56
 57
57
 58
58
 59
59
 60
60
 61
61
 62
62
 63
63
 64
64
 65
65
 66
66
 67
67
 68
68
 69
69
 70
70
 71
71
 72
72
 73
73
 74
74
 75
75
 76
76
 77
77
 78
78
 79
79
 80
80
 81
81
 82
82
 83
83
 84
84
 85
85
 86
86
 87
87
 88
88
 89
89
 90
90
 91
91
 92
92
 93
93
 94
94
 95
95
 96
96
 97
97
 98
98
 99
99
 100
100
 101
101
 102
102
 103
103
 104
104
 105
105
 106
106
 107
107
 108
108
 109
109
 110
110
 111
111
 112
112
 113
113
 114
114
 115
115
 116
116
 117
117
 118
118
 119
119
 120
120
 121
121
 122
122
 123
123
 124
124
 125
125
 126
126
 127
127
 128
128
 129
129
 130
130
 131
131
 132
132
 133
133
 134
134
 135
135
 136
136
 137
137
 138
138
 139
139
 140
140
 141
141
 142
142
 143
143
 144
144
 145
145
 146
146
 147
147
 148
148
 149
149
 150
150
 151
151
 152
152
 153
153
 154
154
 155
155
 156
156
 157
157
 158
158
 159
159
 160
160
 161
161
 162
162
 163
163
 164
164