You can activate secure receiving mode without setting a password, but cannot protect your faxes.
7.
Re-enter the password to confirm it and press
OK
.
8.
Press
Stop/Clear (
)
to return to ready mode.
When a fax is received in secure receiving mode, your machine stores it in memory and shows
Secure Receive
to
let you know that there is a fax received.
Printing received faxes
1.
Access the
Secure Receive
menu by following steps 1 through 4 in “Activating secure receiving mode.”
2.
Press the left/right arrow until
appears and press
OK
.
3.
Enter the four-digit password and press
OK
.
The machine prints all of the faxes stored in memory.
Deactivating secure receiving mode
1.
Access the
Secure Receive
menu by following steps 1 through 4 in “Activating secure receiving mode.”
2.
Press the left/right arrow until
Off
appears and press
OK
.
3.
Enter the four-digit password and press
OK
.
The mode is deactivated and the machine prints all faxes stored in memory.
4.
Press Stop/Clear
(
)
to return to ready mode.
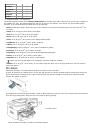
Receiving faxes in memory
Since your machine is a multi-tasking device, it can receive faxes while you are making copies or printing. If you
receive a fax while you are copying or printing, your machine stores incoming faxes in its memory. Then, as soon as
you finish copying or printing, the machine automatically prints the fax.
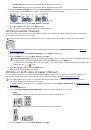
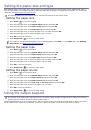
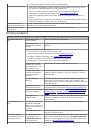
Adjusting the document settings
Before starting a fax, change the following settings according to your original’s status to get the best quality.
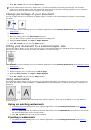
Resolution
The default document settings produces good results when using typical text-based originals. However, if you send
originals that are of poor quality, or contain photographs, you can adjust the resolution to produce a higher quality
fax.
1.
Press
Fax
(
) on the control panel.
2.
Press
Menu (
)
on the control panel.
3.
Press the left/right arrow until
Fax Feature
appears and press
OK
.
4.
Press the left/right arrow until
Resolution
appears and press
OK
.
5.
Press the left/right arrow until the option you want appears and press
OK
.
6.
Press
Stop/Clear (
)
to return to ready mode.
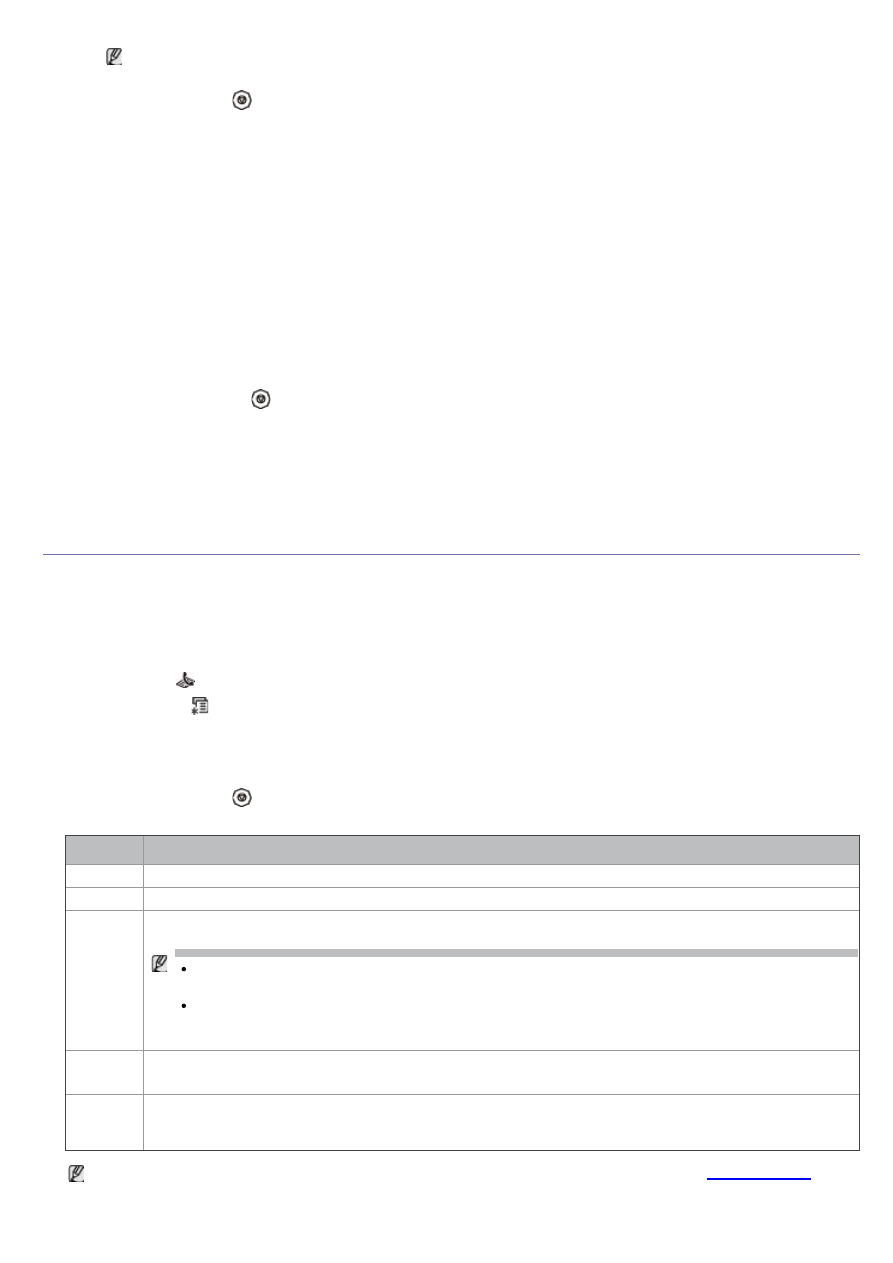
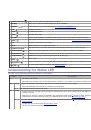
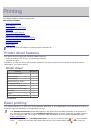
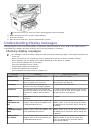
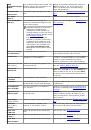
Recommended resolution settings for different original document types are described in the table below:
mode
recommended for:
Standard
Originals with normal sized characters.
Fine
Originals containing small characters or thin lines or originals printed using a dot-matrix printer.
Super
Fine
Originals containing extremely fine detail.
Super Fine
mode is enabled only if the machine with which
you are communicating also supports the Super Fine resolution.
For memory transmission,
Super Fine
mode is not available. The resolution setting is
automatically changed to
Fine
When your machine is set to
Super Fine
resolution and the fax machine with which you are
communicating does not support
Super Fine
resolution, the machine transmits using the
highest resolution mode supported by the other fax machine.
Photo
Fax
Originals containing shades of gray or photographs.
Color
Fax
Originals with colors. Sending a color fax is enabled only if the machine with which you are
communicating supports color fax reception and you send the fax manually. In this mode, memory
transmission is not available.
The resolution setting is applied to the current fax job. To change the default setting, see
 1
1
 2
2
 3
3
 4
4
 5
5
 6
6
 7
7
 8
8
 9
9
 10
10
 11
11
 12
12
 13
13
 14
14
 15
15
 16
16
 17
17
 18
18
 19
19
 20
20
 21
21
 22
22
 23
23
 24
24
 25
25
 26
26
 27
27
 28
28
 29
29
 30
30
 31
31
 32
32
 33
33
 34
34
 35
35
 36
36
 37
37
 38
38
 39
39
 40
40
 41
41
 42
42
 43
43
 44
44
 45
45
 46
46
 47
47
 48
48
 49
49
 50
50
 51
51
 52
52
 53
53
 54
54
 55
55
 56
56
 57
57
 58
58
 59
59
 60
60
 61
61
 62
62
 63
63
 64
64
 65
65
 66
66
 67
67
 68
68
 69
69
 70
70
 71
71
 72
72
 73
73
 74
74
 75
75
 76
76
 77
77
 78
78
 79
79
 80
80
 81
81
 82
82
 83
83
 84
84
 85
85
 86
86
 87
87
 88
88
 89
89
 90
90
 91
91
 92
92
 93
93
 94
94
 95
95
 96
96
 97
97
 98
98
 99
99
 100
100
 101
101
 102
102
 103
103
 104
104
 105
105
 106
106
 107
107
 108
108
 109
109
 110
110
 111
111
 112
112
 113
113
 114
114
 115
115
 116
116
 117
117
 118
118
 119
119
 120
120
 121
121
 122
122
 123
123
 124
124
 125
125
 126
126
 127
127
 128
128
 129
129
 130
130
 131
131
 132
132
 133
133
 134
134
 135
135
 136
136
 137
137
 138
138
Инструкции и руководства похожие на DELL 1135n