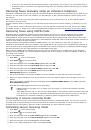
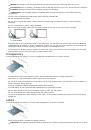
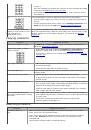
If you select
Manual Feeder
for
Source
from your software application, you need to press
OK
each time you
print a page and load only one type, size and weight of print media at a time in the manual tray.
To prevent paper jams, do not add paper while printing when there is still paper in the manual tray. This also
applies to other types of print media.
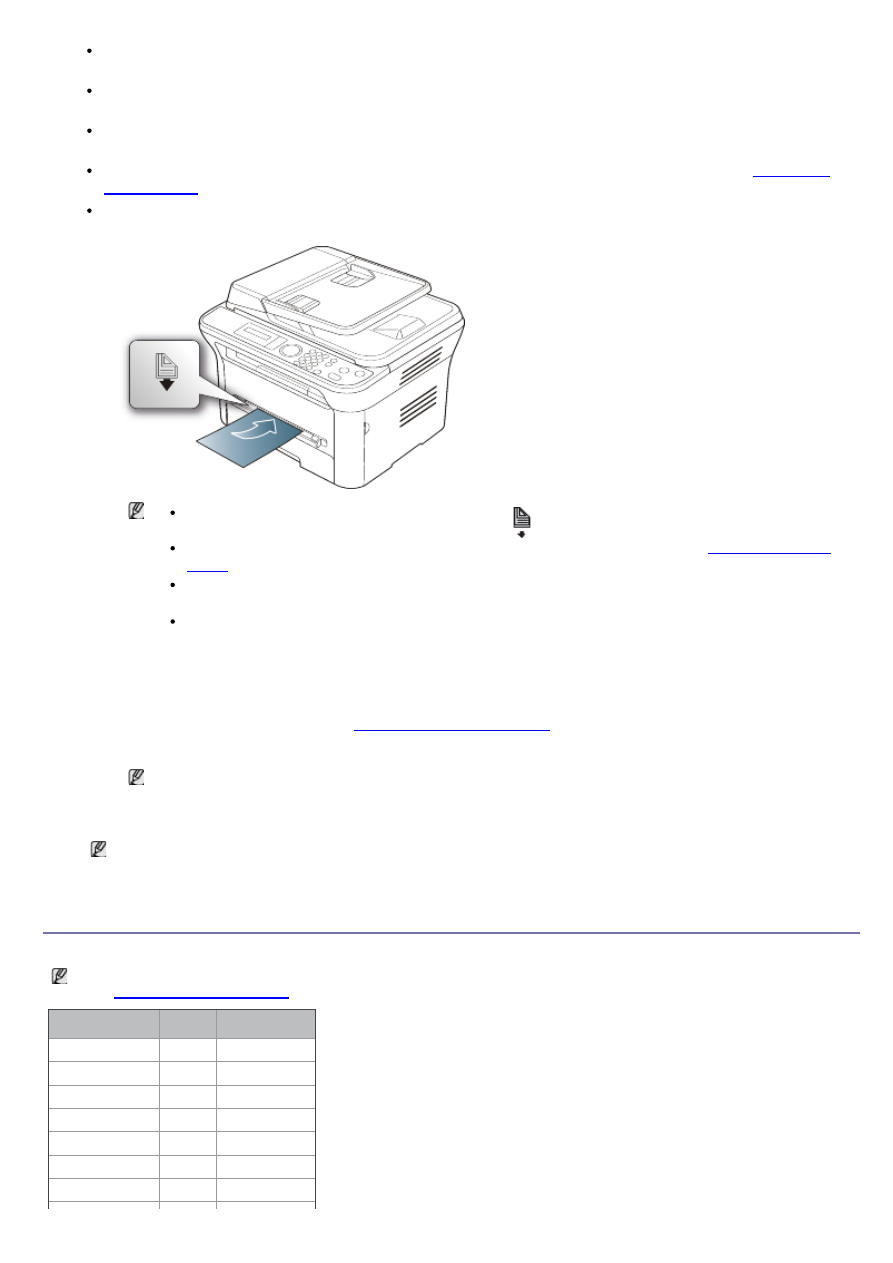
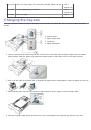
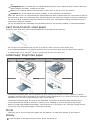
Print media should be loaded face up with the top edge going into the manual tray first and be placed in the
center of the tray.
Always load the specified print media only to avoid paper jams and print quality problems (See
).
Flatten any curl on postcards, envelopes, and labels before loading them into the manual tray.
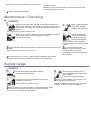
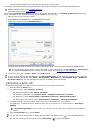
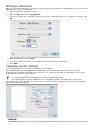
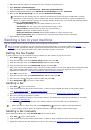
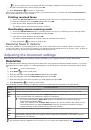
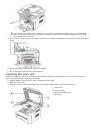
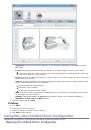
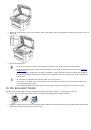
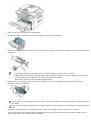
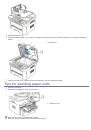
1.
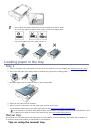
Load the paper in the manual tray.
Do not force the paper beyond the surface with
mark when loading.
When printing the special media, you must follow the loading guideline (See
).
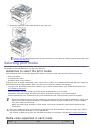
When papers overlap when printing using manual tray, open tray 1 and remove overlapping papers
then try printing again.
When paper does not feed well while printing, push the paper in manually until it starts feeding
automatically.
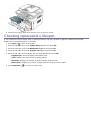
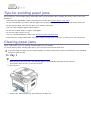
2.
Squeeze the manual tray paper width guides and adjust them to the width of the paper. Do not force them
too much, or the paper will bent resulting in a paper jam or skew.
3.
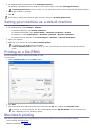
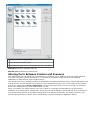
To print in application, open an application and start the print menu.
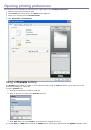
4.
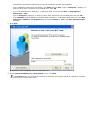
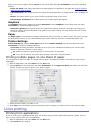
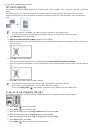
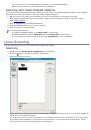
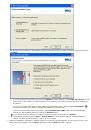
Open
Printing Preferences
(See
5.
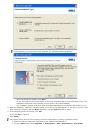
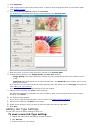
Press the
Paper
tab in
Printing Preferences
, and select an appropriate paper type.
For example, if you want to use a label, set the paper type to
Label
.
6.
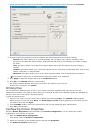
Select
Manual Feeder
in paper source, then press
OK
.
7.
Start printing in application.
If you are printing multiple pages, load the next sheet after the first page prints out, and press the
OK
.
Repeat this step for every page to be printed.
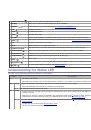
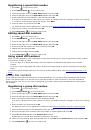
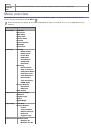
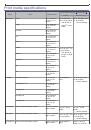
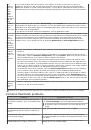
Printing on special media
The table below shows the available special media for each tray.
When using special media, feed one paper at a time. Check the maximum input number of media for each tray
(See
Types
Tray 1 Manual tray
Plain
?
?
Thick
?
?
Thin
?
?
Bond
?
Color
?
CardStock
?
Labels
?
 1
1
 2
2
 3
3
 4
4
 5
5
 6
6
 7
7
 8
8
 9
9
 10
10
 11
11
 12
12
 13
13
 14
14
 15
15
 16
16
 17
17
 18
18
 19
19
 20
20
 21
21
 22
22
 23
23
 24
24
 25
25
 26
26
 27
27
 28
28
 29
29
 30
30
 31
31
 32
32
 33
33
 34
34
 35
35
 36
36
 37
37
 38
38
 39
39
 40
40
 41
41
 42
42
 43
43
 44
44
 45
45
 46
46
 47
47
 48
48
 49
49
 50
50
 51
51
 52
52
 53
53
 54
54
 55
55
 56
56
 57
57
 58
58
 59
59
 60
60
 61
61
 62
62
 63
63
 64
64
 65
65
 66
66
 67
67
 68
68
 69
69
 70
70
 71
71
 72
72
 73
73
 74
74
 75
75
 76
76
 77
77
 78
78
 79
79
 80
80
 81
81
 82
82
 83
83
 84
84
 85
85
 86
86
 87
87
 88
88
 89
89
 90
90
 91
91
 92
92
 93
93
 94
94
 95
95
 96
96
 97
97
 98
98
 99
99
 100
100
 101
101
 102
102
 103
103
 104
104
 105
105
 106
106
 107
107
 108
108
 109
109
 110
110
 111
111
 112
112
 113
113
 114
114
 115
115
 116
116
 117
117
 118
118
 119
119
 120
120
 121
121
 122
122
 123
123
 124
124
 125
125
 126
126
 127
127
 128
128
 129
129
 130
130
 131
131
 132
132
 133
133
 134
134
 135
135
 136
136
 137
137
 138
138
Инструкции и руководства похожие на DELL 1135n