18 (E)
ENGLISH
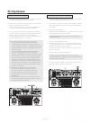
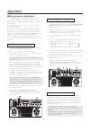
Operation
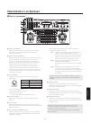
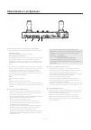
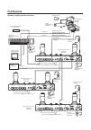
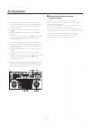
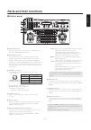
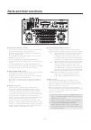
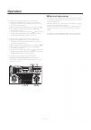
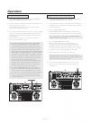
Turning on the power
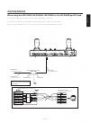
1. Set all the power switches of the connected components
and the power switch of the AC adapter to ON.
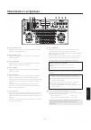
2. Set this unit’s OPERATE switch to ON.
Power will be supplied to the pan/tilt head system
connected to this unit, and the camera’s initial settings
will be performed in sequence.
When the pan/tilt head system is connected (or changed)
and its power is turned on for the first time, the connected
cameras will be initialized. Upon completion of the
initialization, adjust or set the following items. After the items
are adjusted or set, proceed to the section entitled “Setting
the travel range (limiters) of the pan/tilt head”.
Once the adjustments are made, there is no need for any
re-adjustments unless changes are made to the pan/tilt
head, camera or lens. (The items to the re-set or re-adjusted
differ depending on the unit which is changed.)
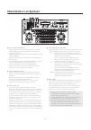
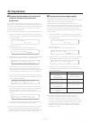
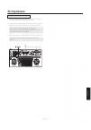
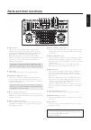
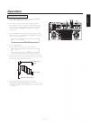
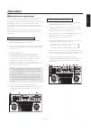
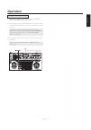
Setting the camera model
These steps must be taken without fail when using the
AW-PH300, AW-PH300A or AW-PH600 pan/tilt head.
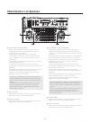
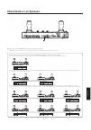
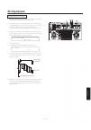
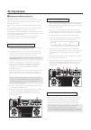
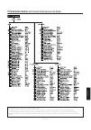
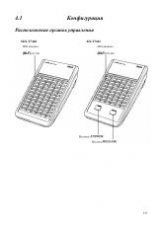
1. Press the MENU button, and turn the menu setting
control (main) to display the CONTROLLER SETTING
item on the top line of the LCD panel.
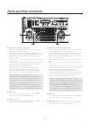
CONTROLLER SETTING
OK Key
2. Press the OK button.
The following item appears on the LCD panel.
BUZZER SET
ON
3. Turn the menu setting control (main) to display the
following item on the LCD panel.
Camera Model Select
CAM1 No Camera
4. Turn the menu setting control (L) to select the cameras
connected, and turn the menu setting control (R) to
select the camera models connected.
5. After all the camera models connected are set, press the
MENU button to restore the original display to the LCD
panel.
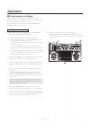
These settings need not be performed when connecting
a pan/tilt head other than the AW-PH300, AW-PH300A
or AW-PH600. Either each camera model will be
automatically identified or the pan/tilt head will not allow a
convertible camera to be connected.
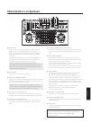
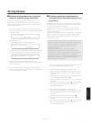
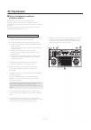
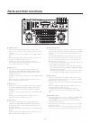
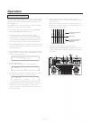
At the same time as the camera’s initial settings are
performed, the control panel’s PAN/TILT lever and
ZOOM lever settings are performed as well. Do not
touch the levers while the display below appears on
the LCD panel.
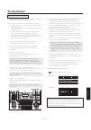
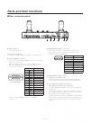
INITIALIZE
PLEASE WAIT
It takes about 30 seconds to perform the camera’s
initial settings for each camera. The pan/tilt head
system cannot be controlled until these settings are
completed.
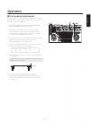
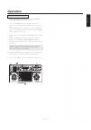
Be sure to set power switches on all connected
equipment and AC adapters to ON before setting
the control panel’s OPERATE switch to ON.