19 (E)
Operation
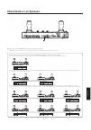
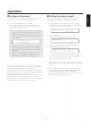
Adjusting the minimum start
speed of the pan/tilt head
When the pan/tilt head is to be operated manually using the
joystick, its minimum start speed is automatically adjusted
to ensure that the pan/tilt head will start moving smoothly
in response to the angle to which the pan/tilt lever is tilted.
(This will reduce the amount of play in the pan/tilt lever.)
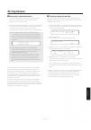
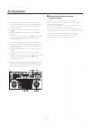
1. Press the MENU button, and turn the menu setting
control (main) to display the P/T SETTING item on the
top line of the LCD panel.
P/T SETTING
OK Key
2. Press the OK button.
The following item appears on the LCD panel.
PAN DIRECTION
NORMAL
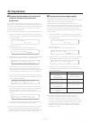
3. Turn the menu setting control (main) to display the
PAN/TILT MIN SPD Set item on the top line of the LCD
panel.
PAN/TILT MIN SPD Set
ADJ Start Push OK Key
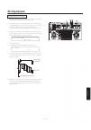
4. When the OK button is pressed, the OK button lamp
starts flashing, the speed is automatically adjusted in
the sequence of right, up, left and down. When all the
adjustments are completed, the display status shown in
step 3 above is restored.
5. If an adjustment could not be made during the
adjustment process, PAN/TILT ADJ Error appears on the
bottom line of the LCD panel, and the operation is shut
down.
PAN/TILT MIN SPD Set
PAN/TILT ADJ Error
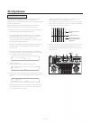
6. Now re-balance the camera which is installed on the
pan/tilt head. When the OK button is then pressed, the
display status shown in step 3 above is restored, and the
automatic adjustments are commenced again.
PAN/TILT MIN SPD Set
ADJ Start Push OK Key
7. After all the adjustments are completed, press the
MENU button to restore the original display to the LCD
panel.
When the menu is set to these adjustment items, no
operations can be initiated by the pan/tilt lever. Upon
completion of the automatic adjustments, be absolutely
sure to change the menu to another item.
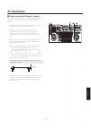
Adjusting the backlash
compensation
Play in the gears may give rise to backlash when the
pan/tilt head is moved. This adjustment serves to provide
compensation for reducing the amount of this backlash.
(Backlash: For instance, after the pan/tilt head has moved
from right to left and then come to a standstill, there is a
delay in the start of the movement when it moves in the
opposite direction. This happens because of play in the
gears. The same phenomenon also occurs when the head
moves from left to right, up to down or down to up.)
1. Press the MENU button, and turn the menu setting
control (main) to display the P/T SETTING item on the
top line of the LCD panel.
P/T SETTING
OK Key
2. Press the OK button.
The following item appears on the LCD panel.
PAN DIRECTION
NORMAL
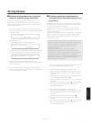
3. Turn the menu setting control (main) to display the
Backlash Supplement item on the top line of the LCD
panel.
Backlash Supplement
A OFF
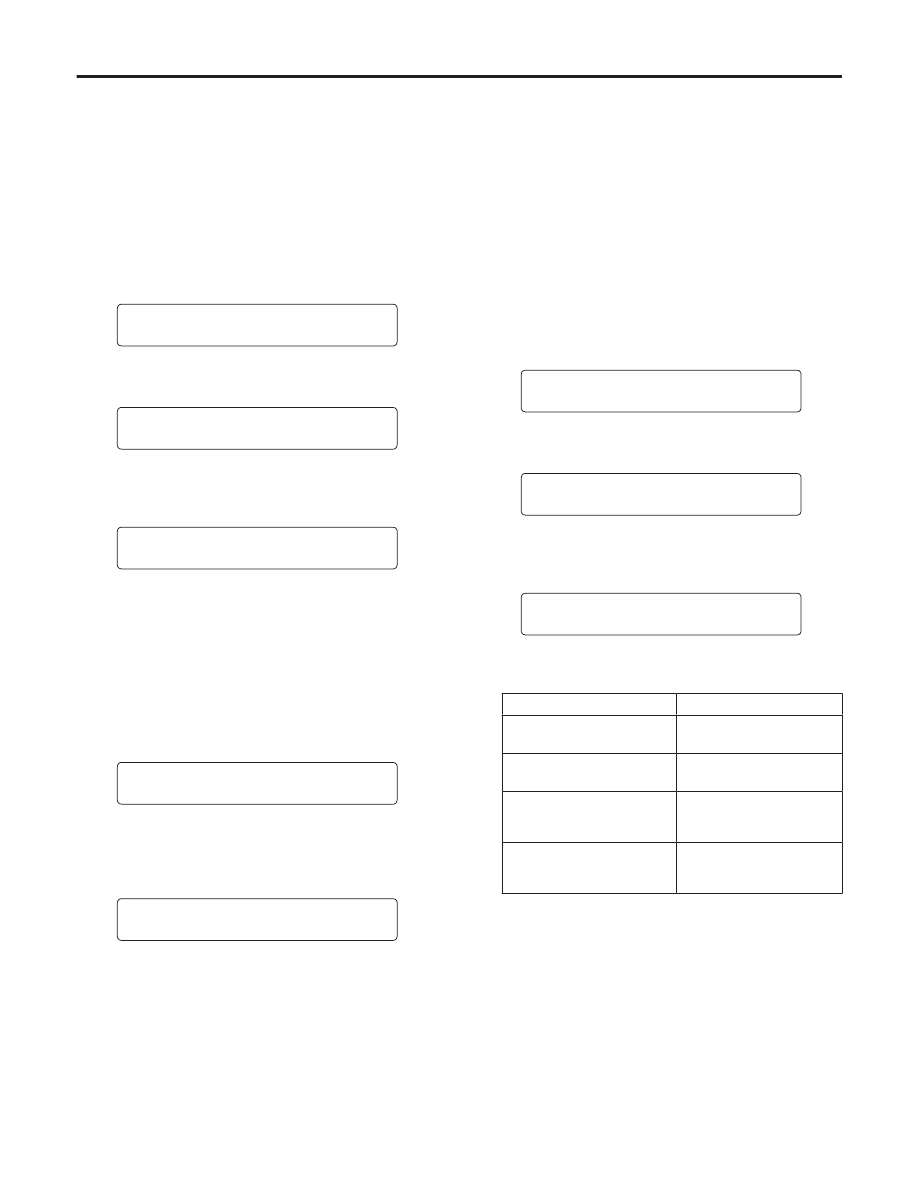
4. Turn the menu setting control (L) to select the item to be
set, and turn the menu setting control (R) to set the data.
Item
Data
A
(compensation for panning)
ON (compensation)/
OFF (no compensation)
B
(compensation for tilting)
ON (compensation)/
OFF (no compensation)
C
(amount of compensation
for panning)
1 (min.) to 7 (max.)
D
(amount of compensation
for tilting)
1 (min.) to 7 (max.)
Use the OFF setting if backlash is not a concern. When
making an adjustment, be absolutely sure to move the
pan/tilt head, and perform actual operations to check
whether the compensation amount is appropriate
before deciding on the proper amount. If this amount
is excessive, the pan/tilt head will start returning in the
opposite direction as soon as it has been made to come
to a standstill.