25 (E)
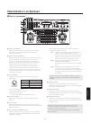
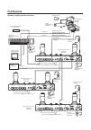
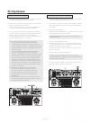
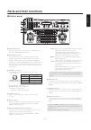
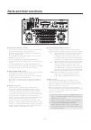
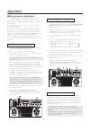
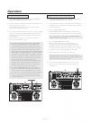
1. Select the pan/tilt head system using the CONTROL/
PREVIEW MONITOR OUT SEL button.
2. Shoot a white object (such as a white wall or
handkerchief) to fill the whole screen using the pan/tilt
head system currently selected.
Do not allow shiny, reflective or very bright objects to
appear on the screen.
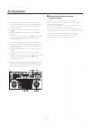
3. Press the WHITE BAL A button, and press the AWC
button. The AWC button’s lamp flashes, and the white
balance is automatically adjusted. Once the adjustment
has been performed correctly, the lamp goes off, and the
conditions set are entered in channel A.
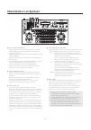
The AWC button’s lamp will remain lit if it was not
possible for the adjustment to be performed. In this case,
change the brightness, iris, object, light source, etc., and
perform the adjustment again.
The AWC button’s lamp goes off even if the white
balance adjustment was not performed correctly in
cases where a pan/tilt head system other than the
AW-PH350, AW-PH360 or AW-PH650 is being used.
4. Similarly, enter the conditions set for channel B using the
WHITE BAL B button.
5. Select the next pan/tilt head system using the
CONTROL/PREVIEW MONITOR OUT SEL button, and
continue adjusting the white balance in each system
concerned.
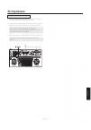
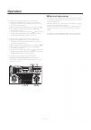
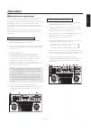
White balance adjustment
The white balance must be adjusted when the equipment
is used for the first time, when it has not been used for a
prolonged time or when the lighting conditions or brightness
has changed.
The white balance conditions can be entered in advance
into channels A and B.
If the equipment is to be used under conditions which are
identical to the entered settings, it means that no further
adjustment need be undertaken since the white balance
will be set simply by pressing the WHITE BAL A button or B
button once the white balance has been adjusted.
When the white balance is adjusted again, the previously
entered settings will be deleted and replaced by the new
conditions.
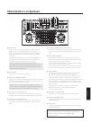
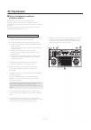
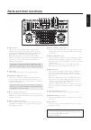
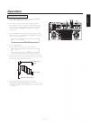
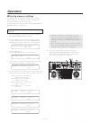
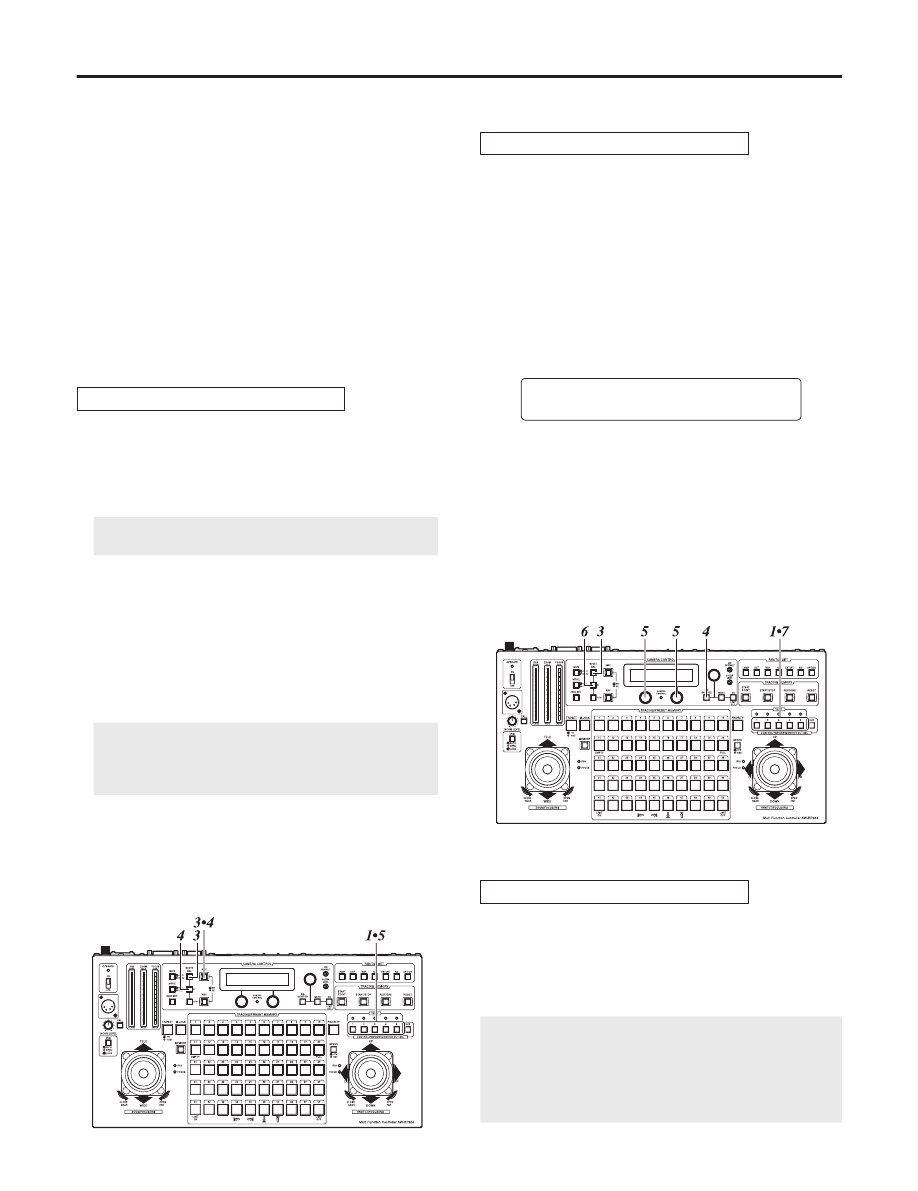
Automatic adjustment of white balance
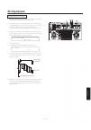
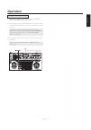
1. As with the procedure for automatic adjustment, select
the pan/tilt head system using the CONTROL/PREVIEW
MONITOR OUT SEL button, and shoot a white object to
fill the whole screen.
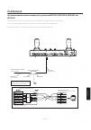
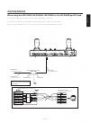
2. Connect a waveform monitor or colour monitor to the
VIDEO/Y OUT connector on this unit that corresponds to
the pan/tilt head system currently selected.
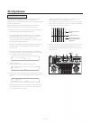
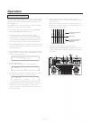
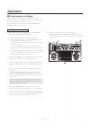
3. Press the WHITE BAL A button to select the channel A
memory.
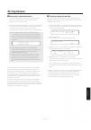
4. Press the R/B GAIN/PED button, and set it so that the
following item appears on the LCD panel.
GAIN 0dB
R: 0 B: 0
5. Use the menu setting control (L) to adjust the gain of the
R (red) channel, and use the menu setting control (R) to
adjust the gain of the B (blue) channel.
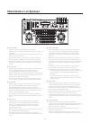
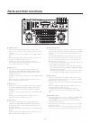
6. Similarly, enter the conditions set for channel B using the
WHITE BAL B button.
7. Select the next pan/tilt head system using the
CONTROL/PREVIEW MONITOR OUT SEL button, and
continue adjusting the white balance in each system
concerned.
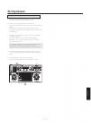
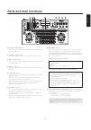
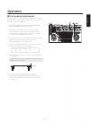
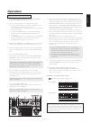
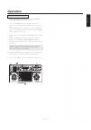
Manual adjustment of white balance
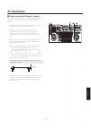
When the WHITE BAL ATW button is pressed during
shooting, the ATW button’s lamp comes on, compensation
is provided so that the white balance will be automatically
adjusted even if the light source or colour temperature has
changed in order to minimize an unnatural appearance in
the resulting images.
If nothing white is shown on the screen, it may not
be possible for the white balance to be compensated
properly.
Similarly, with some light sources or colour temperatures,
it may not be possible for the white balance to be
compensated properly.
Automatic tracing white balance (ATW)
Operation