20 (E)
ENGLISH
Operation
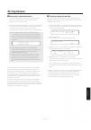
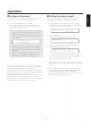
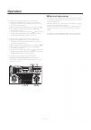
Adjusting the minimum start
speed of the lens zoom
Perform this adjustment to ensure that the lens zoom will
function smoothly in response to the angle to which the
zoom lever is tilted when it is used to zoom the lens.
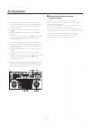
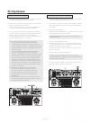
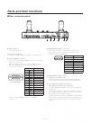
1. Press the MENU button, and turn the menu setting
control (main) to display the P/T SETTING item on the
top line of the LCD panel.
P/T SETTING
OK Key
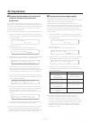
2. Press the OK button.
The following item appears on the LCD panel.
PAN DIRECTION
NORMAL
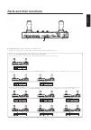
3. Turn the menu setting control (main) to display the Zoom
Minimum SPD ADJ item on the top line of the LCD
panel.
Zoom Minimum SPD ADJ
0
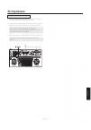
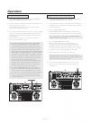
4. Move the ZOOM lever slowly, and check the image on
the monitor to verify whether the lens starts zooming
smoothly.
5. If the lens does not start zooming smoothly, turn the
menu setting control (R), and adjust in such a way that it
does zoom smoothly.
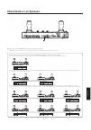
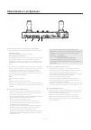
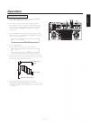
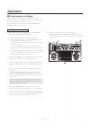
Setting the travel range (limiters)
of the pan/tilt head
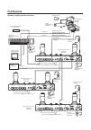
Depending on where it has been installed, there may be
obstacles within the travel range of the pan/tilt head system
with which the system may come into contact.
The pan/tilt head system may malfunction or an accident
may occur if the system comes into contact with such an
obstacle.
Prior to use, be absolutely sure to set the travel range
(limiters: upper, lower, left-most and right-most limits of
rotation) of the pan/tilt head system.
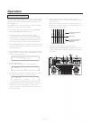
Before installing a pan/tilt head as a stand-alone type, set
the installation direction switch inside the pan/tilt head to
stand-alone installation. (“Suspended installation” is the
factory setting.)
If this switch is not set properly, the operating directions
of the pan/tilt head will be reversed, and the limits of the
pan/tilt head’s travel range (limiters) will not be stored in
the memory properly. For details on how to set the switch,
refer to the operating instructions of the pan/tilt head.
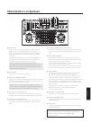
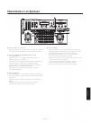
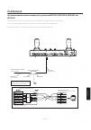
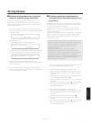
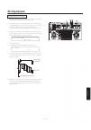
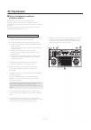
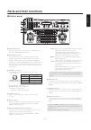
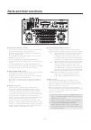
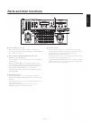
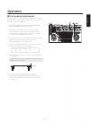
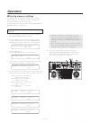
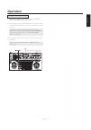
1. Select the pan/tilt head system using the CONTROL/
PREVIEW MONITOR OUT SEL button.
2. Set the upper limit position in the travel range.
Operate the PAN/TILT lever on the control panel to
rotate the camera to the position which is to serve as
the upper limit position.
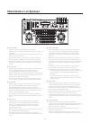
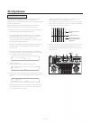
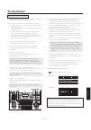
While holding down the OK button on the control
panel, press TRACING/PRESET MEMORY button
47 .
The setting is completed when the 41 [LIMIT ON]
button’s lamp comes on.
To cancel the setting, press button 47 while pressing
the OK button again. When the setting is cancelled,
the 50 [LIMIT OFF] button’s lamp comes on.
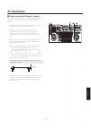
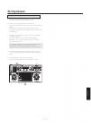
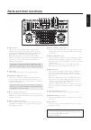
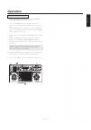
3. Set the lower limit position in the travel range.
Operate the PAN/TILT lever on the control panel to
rotate the camera to the position which is to serve as
the lower limit position.
While holding down the OK button, press button 46 .
The setting is completed when the 41 [LIMIT ON]
button’s lamp comes on.
To cancel the setting, press button 46 while pressing
the OK button again. When the setting is cancelled,
the 50 [LIMIT OFF] button’s lamp comes on.