IES-6000M User’s Guide
27
C
H A P T E R
2
Hardware Installation and
Connections
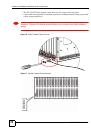
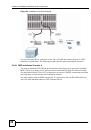
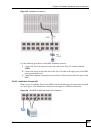
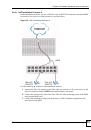
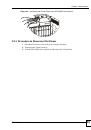
This chapter describes how to install and connect the IES-6000M and line cards.
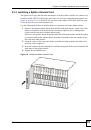
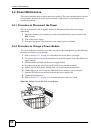
2.1 General Installation Instructions
Perform the installation as follows:
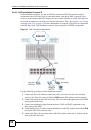
• Make sure the IES-6000’s power switches are in the
OFF
position.
• Install the main chassis as detailed in this chapter. Make sure you connect the frame
grounds before you make any other connections.
• If line cards are not already installed, follow the procedure in the next section to install
them.
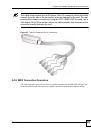
• Refer to
for instructions on making connections with Telco-50
connectors.
• Refer to
for instructions on making alarm connections.
• Refer to
for instructions on making power connections and turning
on the IES-6000.
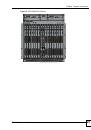
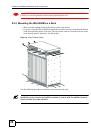
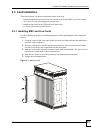
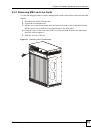
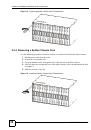
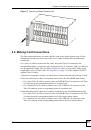
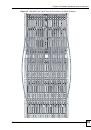
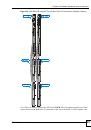
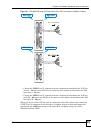
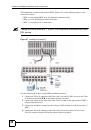
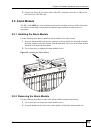
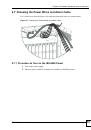
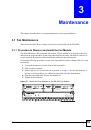
2.2 Main Chassis Installation
This section explains how to install the main chassis on a rack. If you are installing the main
chassis without a splitter chassis, you can install the main chassis on a desktop instead.
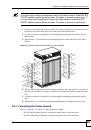
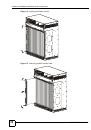
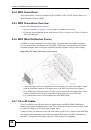
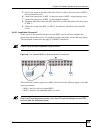
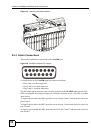
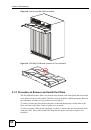
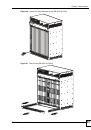
2.2.1 Rack-mounted Installation Requirements
Make sure the rack will safely support the combined weight of all the equipment it contains.
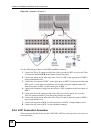
• Use a #2 Phillips screwdriver to install the screws.
• Refer to
for the gauge of wire to use for the frame ground
connections.
• Refer to
for the IES-600M’s dimensions, weights and power
consumption.