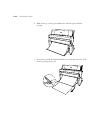
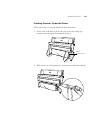
C-3
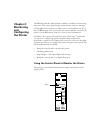
Using EPSON Drivers and Utilities for Windows
|
C-3
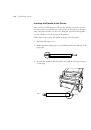
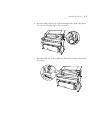
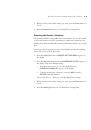
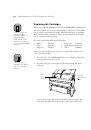
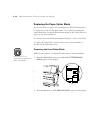
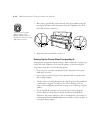
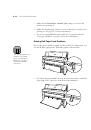
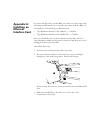
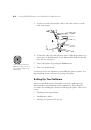
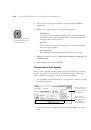
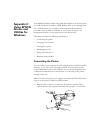
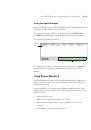
Installing the Software
Make sure any virus protection programs are turned off before you begin.
Then follow these steps to install your printer software:
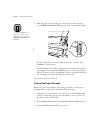
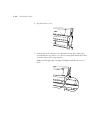
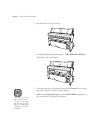
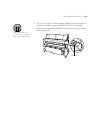
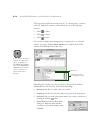
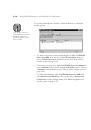
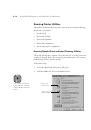
1. Turn on your computer, then turn on the printer.
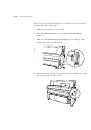
2. Insert your printer software CD-ROM. The installer starts
automatically.
If it doesn’t start, double-click
My Computer
. Then double-click your
CD-ROM icon.
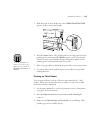
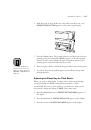
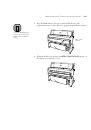
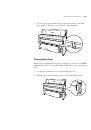
3. Double-click
Install Printer Driver/Utility
. Then follow the
instructions on the screen.
4. When you see the “installation complete” message, click
OK.
EPSON Status Monitor 2 installation starts automatically. When it is
complete, your computer restarts.
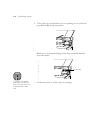
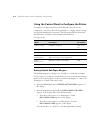
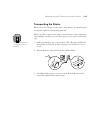
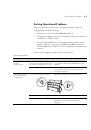
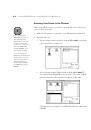
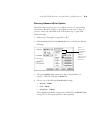
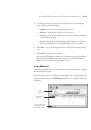
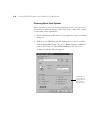
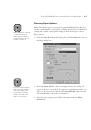
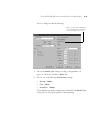
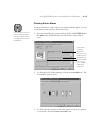
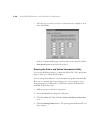
Setting Print Options
When you’re ready to print from an application, you need to choose print
options and paper options. The EPSON driver offers automatic settings that
optimize print quality and speed when you’re using EPSON media. You can
also choose advanced settings for more control over your printer and color
management options.
This section covers the following:
•
Choosing basic print options
•
Choosing paper options
•
Choosing advanced print options
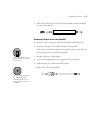
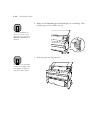
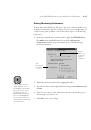
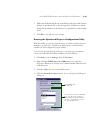
Note
If the New Hardware
Found screen or any
other wizard appears,
click
Cancel
and follow
the steps given here.
 1
1
 2
2
 3
3
 4
4
 5
5
 6
6
 7
7
 8
8
 9
9
 10
10
 11
11
 12
12
 13
13
 14
14
 15
15
 16
16
 17
17
 18
18
 19
19
 20
20
 21
21
 22
22
 23
23
 24
24
 25
25
 26
26
 27
27
 28
28
 29
29
 30
30
 31
31
 32
32
 33
33
 34
34
 35
35
 36
36
 37
37
 38
38
 39
39
 40
40
 41
41
 42
42
 43
43
 44
44
 45
45
 46
46
 47
47
 48
48
 49
49
 50
50
 51
51
 52
52
 53
53
 54
54
 55
55
 56
56
 57
57
 58
58
 59
59
 60
60
 61
61
 62
62
 63
63
 64
64
 65
65
 66
66
 67
67
 68
68
 69
69
 70
70
 71
71
 72
72
 73
73
 74
74
 75
75
 76
76
 77
77
 78
78
 79
79
 80
80
 81
81
 82
82
 83
83
 84
84
 85
85
 86
86
 87
87
 88
88
 89
89
 90
90
 91
91
 92
92
 93
93
 94
94
 95
95
 96
96
 97
97
 98
98
 99
99
 100
100
 101
101
 102
102
 103
103
 104
104
 105
105
 106
106
 107
107
 108
108
 109
109
 110
110
 111
111
 112
112
 113
113
 114
114
 115
115
 116
116
 117
117
 118
118
 119
119
 120
120
 121
121
 122
122
 123
123
 124
124
 125
125
 126
126
 127
127
 128
128
 129
129
 130
130
 131
131
 132
132
 133
133
 134
134
 135
135
 136
136
 137
137
 138
138
 139
139
 140
140
 141
141
 142
142
 143
143