1-17
Handling Paper
|
1-17
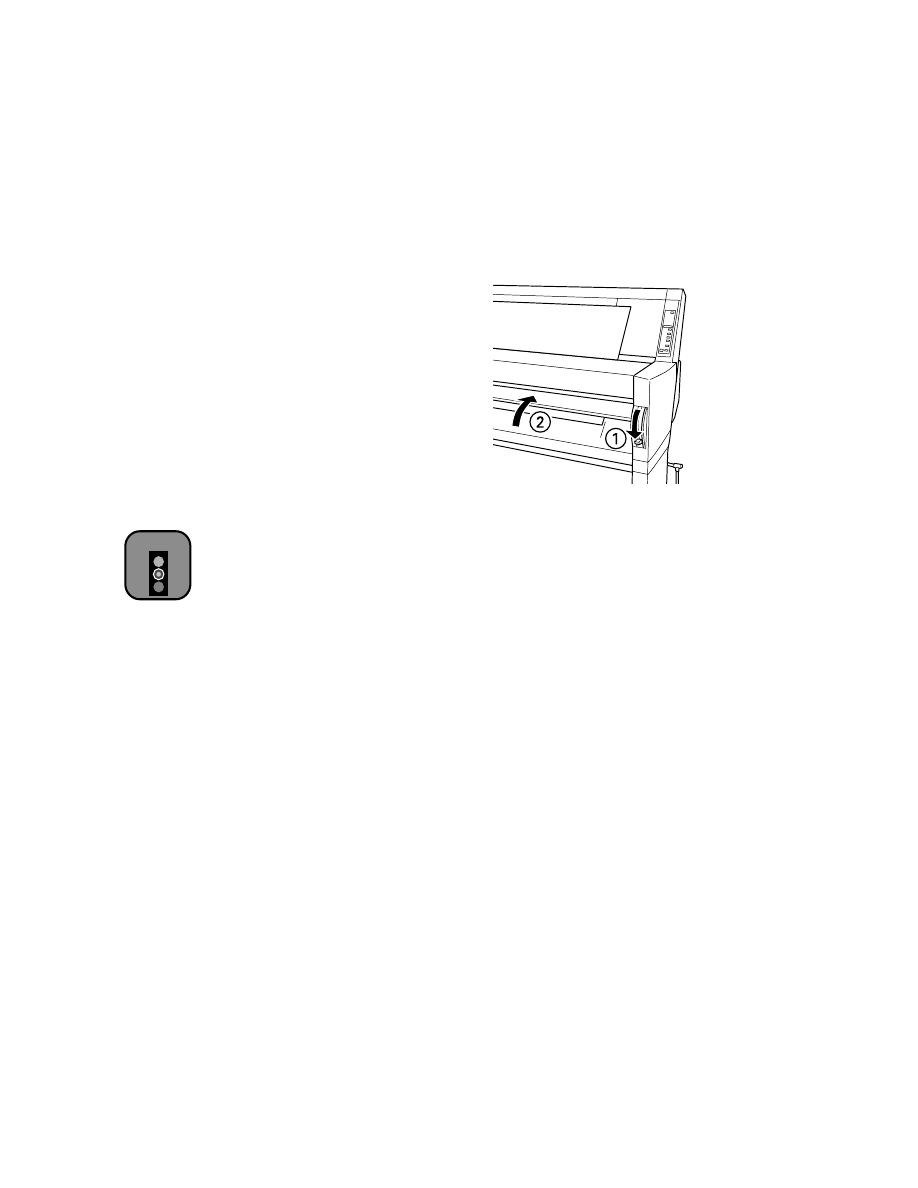
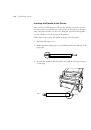
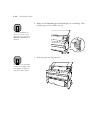
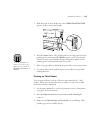
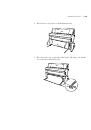
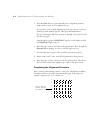
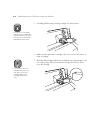
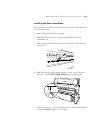
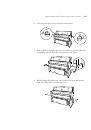
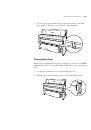
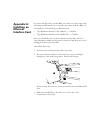
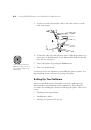
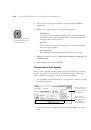
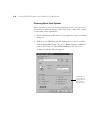
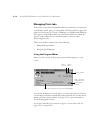
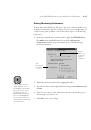
6. Push the paper set lever all the way down, then close the lower cover.
PRESS PAUSE BUTTON
appears on the control panel display.
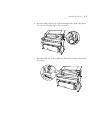
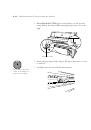
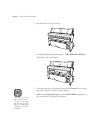
7. Press the
Pause
button. The print head moves and the paper feeds into
printing position automatically.
READY
appears on the control panel.
(Even if you don’t press
Pause
, the paper and printer will move into
printing position automatically after 10 seconds.)
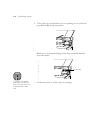
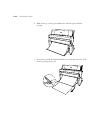
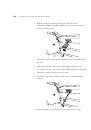
8. Print your page. After it is finished, the printed sheet stays in the printer.
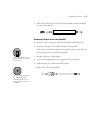
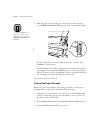
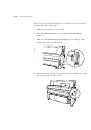
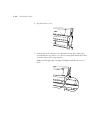
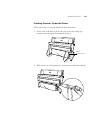
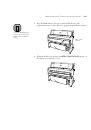
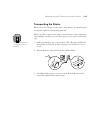
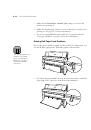
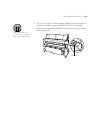
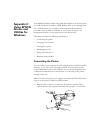
9. To remove the printout, pull the paper set lever all the way up while
holding the sheet.
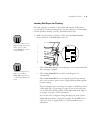
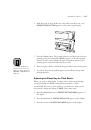
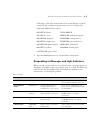
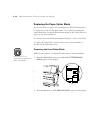
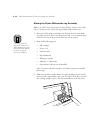
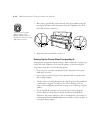
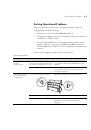
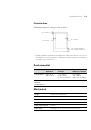
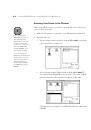
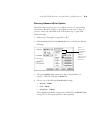
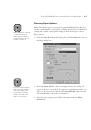
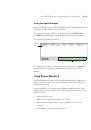
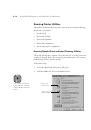
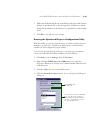
Adjusting the Platen Gap for Thick Sheets
When you print on thick media, you may need to adjust the platen gap
setting. Normally, the
AUTO
setting allows the printer to adjust
automatically. However, if print quality is not satisfactory when you use
heavy media, change this setting to
WIDE.
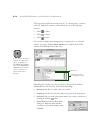
Follow these steps:
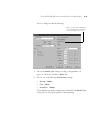
1. Press the
SelecType
button.
PRINTER SETTING MENU
appears on
the display.
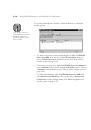
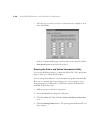
2. Press the
Item
button.
PLATEN GAP=AUTO
appears on the display.
3. Press the
+
button.
PLATEN GAP=WIDE
appears on the display.
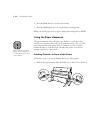
Caution
To avoid damaging the
printer, never move the
paper set lever while the
Operate
or
Pause
light is
flashing.
 1
1
 2
2
 3
3
 4
4
 5
5
 6
6
 7
7
 8
8
 9
9
 10
10
 11
11
 12
12
 13
13
 14
14
 15
15
 16
16
 17
17
 18
18
 19
19
 20
20
 21
21
 22
22
 23
23
 24
24
 25
25
 26
26
 27
27
 28
28
 29
29
 30
30
 31
31
 32
32
 33
33
 34
34
 35
35
 36
36
 37
37
 38
38
 39
39
 40
40
 41
41
 42
42
 43
43
 44
44
 45
45
 46
46
 47
47
 48
48
 49
49
 50
50
 51
51
 52
52
 53
53
 54
54
 55
55
 56
56
 57
57
 58
58
 59
59
 60
60
 61
61
 62
62
 63
63
 64
64
 65
65
 66
66
 67
67
 68
68
 69
69
 70
70
 71
71
 72
72
 73
73
 74
74
 75
75
 76
76
 77
77
 78
78
 79
79
 80
80
 81
81
 82
82
 83
83
 84
84
 85
85
 86
86
 87
87
 88
88
 89
89
 90
90
 91
91
 92
92
 93
93
 94
94
 95
95
 96
96
 97
97
 98
98
 99
99
 100
100
 101
101
 102
102
 103
103
 104
104
 105
105
 106
106
 107
107
 108
108
 109
109
 110
110
 111
111
 112
112
 113
113
 114
114
 115
115
 116
116
 117
117
 118
118
 119
119
 120
120
 121
121
 122
122
 123
123
 124
124
 125
125
 126
126
 127
127
 128
128
 129
129
 130
130
 131
131
 132
132
 133
133
 134
134
 135
135
 136
136
 137
137
 138
138
 139
139
 140
140
 141
141
 142
142
 143
143