2-9
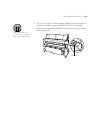
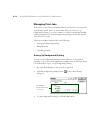
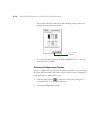
Monitoring and Configuring the Printer
|
2-9
3. When you have selected the setting you want, press the
Enter
button to
save it.
4. Press the
SelecType
button to exit the Printer Setting menu.
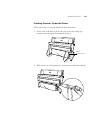
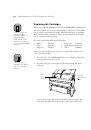
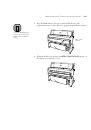
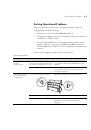
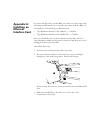
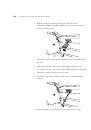
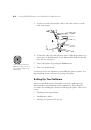
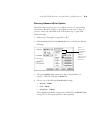
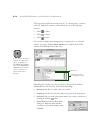
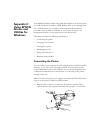
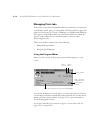
Selecting the Printer’s Interface
The printer includes both a parallel and serial interface. You can also install
an optional interface board for networking or additional connectivity. By
default, the printer automatically switches to whichever interface is receiving
data.
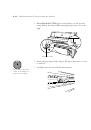
You can use the control panel to select an individual interface for sending
data to the printer. Follow these steps:
1. Press the
SelecType
button.
PRINTER SETTING MENU
appears on
the display.
2. Press the
Item
button repeatedly until
INTERFACE=AUTO*
appears on
the display. This is the default setting.
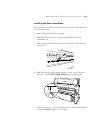
•
Press the
+
button once to select the parallel interface.
INTERFACE=PARALLEL
appears on the display.
•
Continue pressing the
+
button to select the
MAC
(serial) or
OPTION
(optional) interface.
You can use the
+
or
–
button to cycle through all four settings.
3. When you have selected the setting you want, press the
Enter
button to
save it.
4. Press the
SelecType
button to exit the Printer Setting menu.
 1
1
 2
2
 3
3
 4
4
 5
5
 6
6
 7
7
 8
8
 9
9
 10
10
 11
11
 12
12
 13
13
 14
14
 15
15
 16
16
 17
17
 18
18
 19
19
 20
20
 21
21
 22
22
 23
23
 24
24
 25
25
 26
26
 27
27
 28
28
 29
29
 30
30
 31
31
 32
32
 33
33
 34
34
 35
35
 36
36
 37
37
 38
38
 39
39
 40
40
 41
41
 42
42
 43
43
 44
44
 45
45
 46
46
 47
47
 48
48
 49
49
 50
50
 51
51
 52
52
 53
53
 54
54
 55
55
 56
56
 57
57
 58
58
 59
59
 60
60
 61
61
 62
62
 63
63
 64
64
 65
65
 66
66
 67
67
 68
68
 69
69
 70
70
 71
71
 72
72
 73
73
 74
74
 75
75
 76
76
 77
77
 78
78
 79
79
 80
80
 81
81
 82
82
 83
83
 84
84
 85
85
 86
86
 87
87
 88
88
 89
89
 90
90
 91
91
 92
92
 93
93
 94
94
 95
95
 96
96
 97
97
 98
98
 99
99
 100
100
 101
101
 102
102
 103
103
 104
104
 105
105
 106
106
 107
107
 108
108
 109
109
 110
110
 111
111
 112
112
 113
113
 114
114
 115
115
 116
116
 117
117
 118
118
 119
119
 120
120
 121
121
 122
122
 123
123
 124
124
 125
125
 126
126
 127
127
 128
128
 129
129
 130
130
 131
131
 132
132
 133
133
 134
134
 135
135
 136
136
 137
137
 138
138
 139
139
 140
140
 141
141
 142
142
 143
143