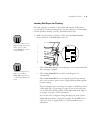
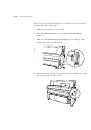
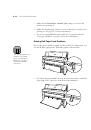
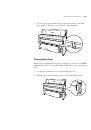
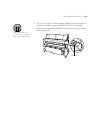
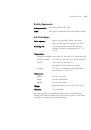
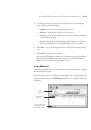
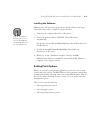
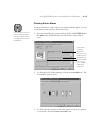
3-5
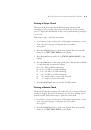
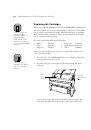
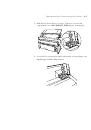
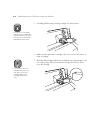
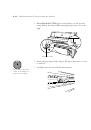
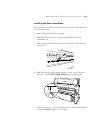
Maintaining and Transporting the Printer
|
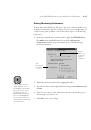
3-5
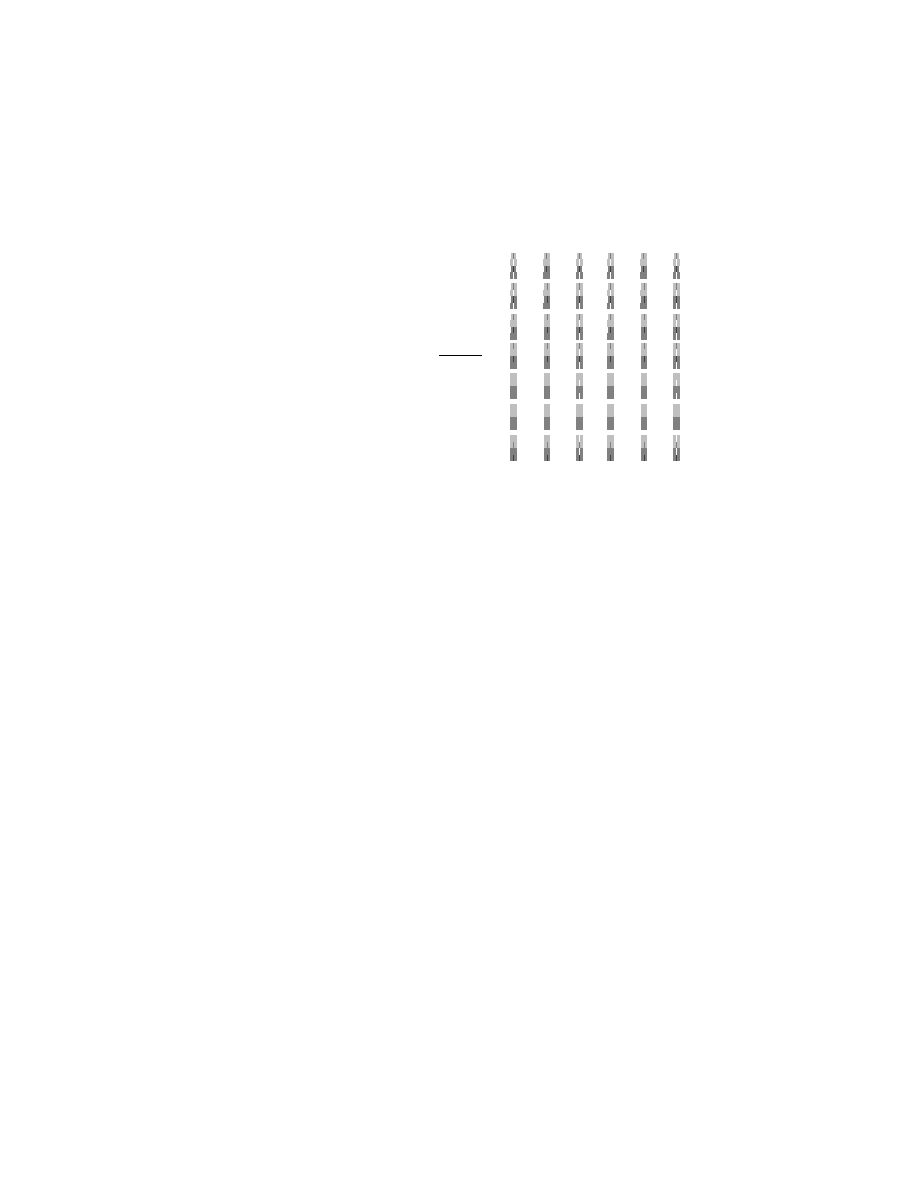
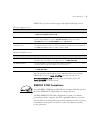
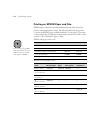
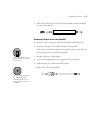
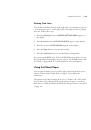
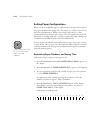
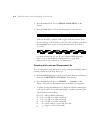
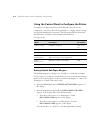
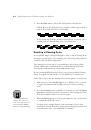
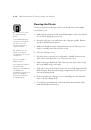
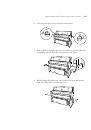
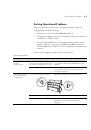
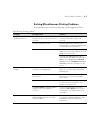
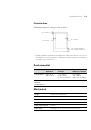
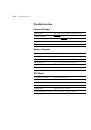
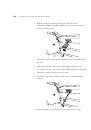
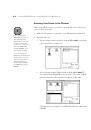
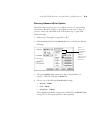
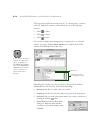
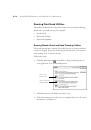
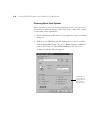
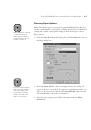
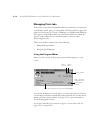
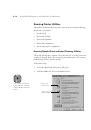
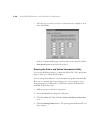
Following is an example of patterns #6 and #8, which print in color:
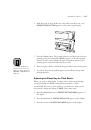
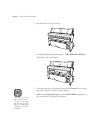
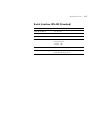
Follow these steps to complete the alignment procedure:
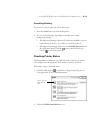
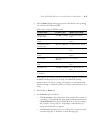
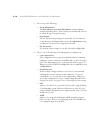
1. Examine pattern #1 (or the pattern you printed) and determine which
row of lines has the smallest gaps. In the two examples above, the lines in
row 4 have the smallest gaps.
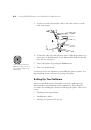
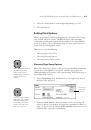
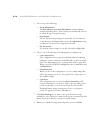
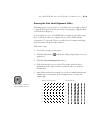
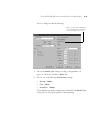
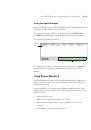
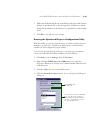
2. Check the control panel display. It should show something like
#1 = 4,
indicating that row 4 is selected for pattern #1.
3. Use the +
+ or –
– button to select the best aligned row for pattern #1. Then
press the
Enter
button to register the setting. The control panel display
changes to show
#2 = 4
.
4. Repeat steps 2 and 3 for each pattern you printed. If you need to verify
any of the settings, press
Enter
repeatedly to cycle through the patterns.
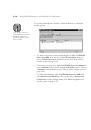
5. After you have registered all the patterns, press the
Pause
button to exit
head alignment mode and return to normal printer operation.
1
2
3
4
5
6
7
Row 4 shows the
smallest gaps and
is the best choice.
 1
1
 2
2
 3
3
 4
4
 5
5
 6
6
 7
7
 8
8
 9
9
 10
10
 11
11
 12
12
 13
13
 14
14
 15
15
 16
16
 17
17
 18
18
 19
19
 20
20
 21
21
 22
22
 23
23
 24
24
 25
25
 26
26
 27
27
 28
28
 29
29
 30
30
 31
31
 32
32
 33
33
 34
34
 35
35
 36
36
 37
37
 38
38
 39
39
 40
40
 41
41
 42
42
 43
43
 44
44
 45
45
 46
46
 47
47
 48
48
 49
49
 50
50
 51
51
 52
52
 53
53
 54
54
 55
55
 56
56
 57
57
 58
58
 59
59
 60
60
 61
61
 62
62
 63
63
 64
64
 65
65
 66
66
 67
67
 68
68
 69
69
 70
70
 71
71
 72
72
 73
73
 74
74
 75
75
 76
76
 77
77
 78
78
 79
79
 80
80
 81
81
 82
82
 83
83
 84
84
 85
85
 86
86
 87
87
 88
88
 89
89
 90
90
 91
91
 92
92
 93
93
 94
94
 95
95
 96
96
 97
97
 98
98
 99
99
 100
100
 101
101
 102
102
 103
103
 104
104
 105
105
 106
106
 107
107
 108
108
 109
109
 110
110
 111
111
 112
112
 113
113
 114
114
 115
115
 116
116
 117
117
 118
118
 119
119
 120
120
 121
121
 122
122
 123
123
 124
124
 125
125
 126
126
 127
127
 128
128
 129
129
 130
130
 131
131
 132
132
 133
133
 134
134
 135
135
 136
136
 137
137
 138
138
 139
139
 140
140
 141
141
 142
142
 143
143