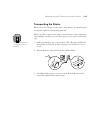
1-9
Handling Paper
|
1-9
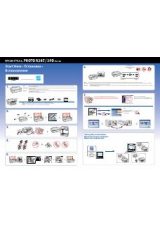
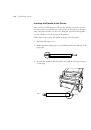
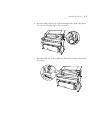
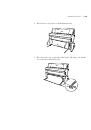
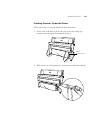
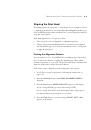
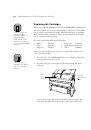
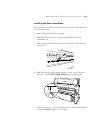
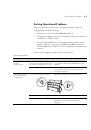
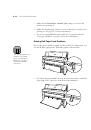
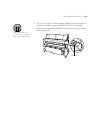
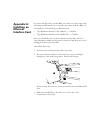
Loading Roll Paper for Printing
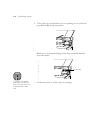
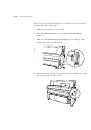
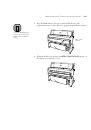
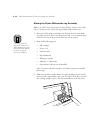
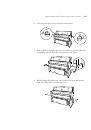
Once the roll paper is attached to the spindle and inserted in the printer,
you’re ready to load it for printing. First, open the roll paper cover and make
sure the spindle is inserted correctly. Then follow these steps:
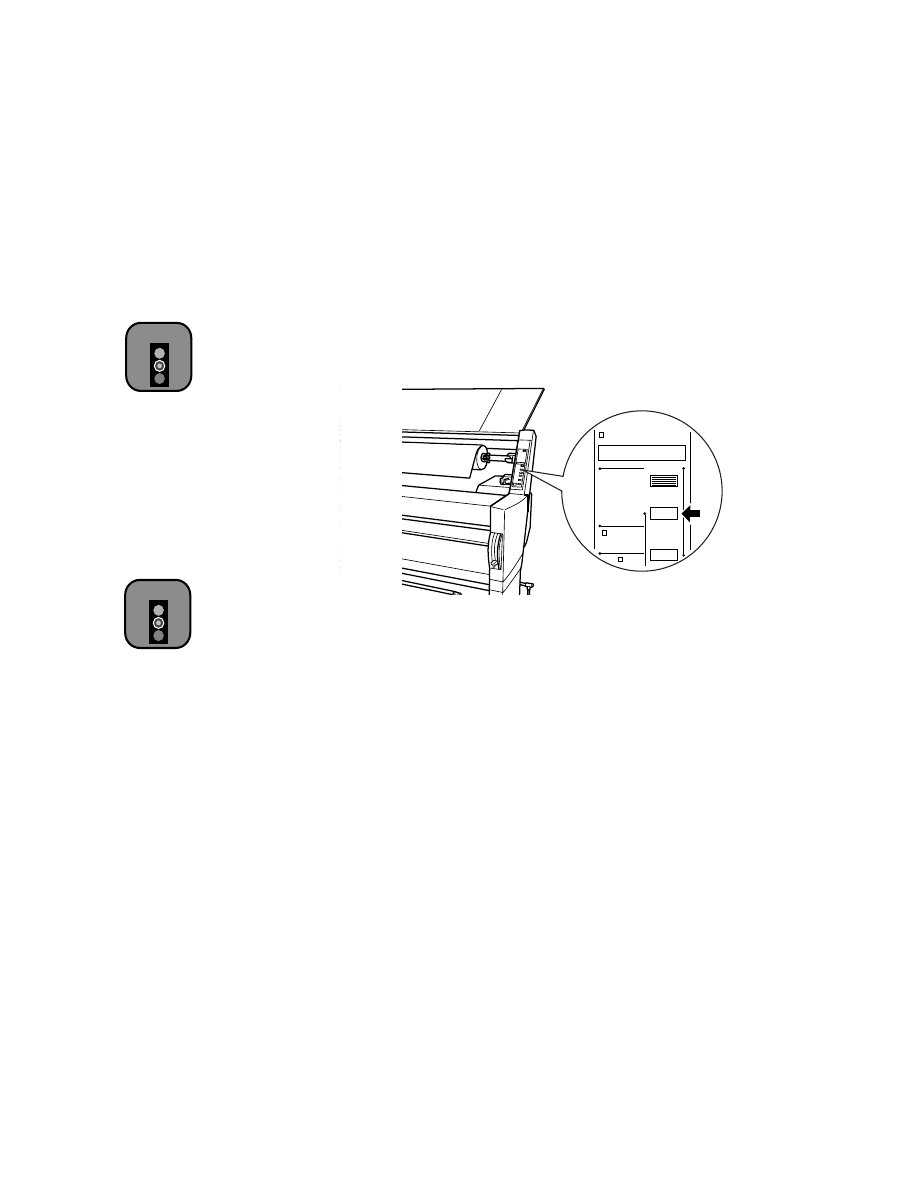
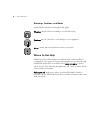
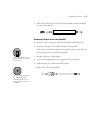
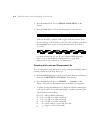
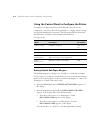
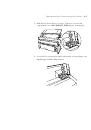
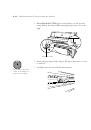
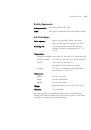
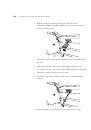
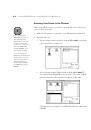
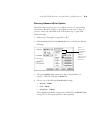
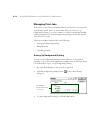
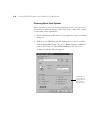
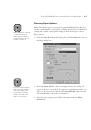
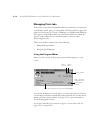
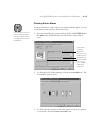
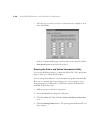
1. Make sure the printer is turned on. Then press the
Paper Source
button until one of the
Roll
lights comes on.
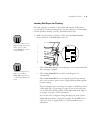
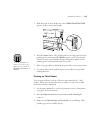
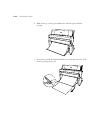
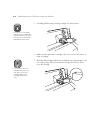
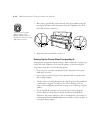
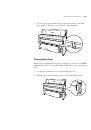
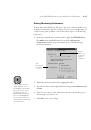
•
Choose
Roll Auto Cut
if you want the paper to be cut automatically
after each page is printed.
•
Choose
Roll Cutter Off
if you don’t want the paper cut
automatically.
Choose
Roll Cutter Off
if you’re using the optional auto take-up
reel, or if you want to print a series of pages and keep them together
for later cutting.
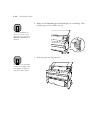
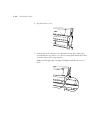
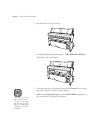
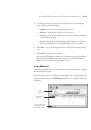
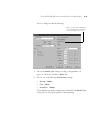
If you’re using the auto cut setting, you can have a trim line printed
on the right edge of your images or pages. If you’re not using auto
cut, you can have the line printed on the right and bottom edges of
your pages. See page 1-13 for instructions.
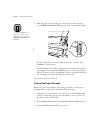
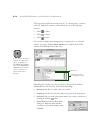
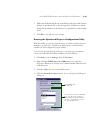
You can also select roll paper settings through your print options,
which will override the control panel settings. See the RIP Station
5100
User Guide
or Appendix B or C in this manual for more
information.
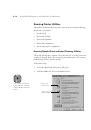
Caution
To avoid feeding excess
paper through the printer,
make sure you don’t
select
Sheet
when you’re
using roll paper.
Paper out
Roll
Auto Cut
Roll
Cutter Off
SelecType
Paper Source
Item
+
Caution
If you’re using thick roll
paper, choose
Roll
Cutter Off
. Paper that is
too thick may damage the
cutter.
 1
1
 2
2
 3
3
 4
4
 5
5
 6
6
 7
7
 8
8
 9
9
 10
10
 11
11
 12
12
 13
13
 14
14
 15
15
 16
16
 17
17
 18
18
 19
19
 20
20
 21
21
 22
22
 23
23
 24
24
 25
25
 26
26
 27
27
 28
28
 29
29
 30
30
 31
31
 32
32
 33
33
 34
34
 35
35
 36
36
 37
37
 38
38
 39
39
 40
40
 41
41
 42
42
 43
43
 44
44
 45
45
 46
46
 47
47
 48
48
 49
49
 50
50
 51
51
 52
52
 53
53
 54
54
 55
55
 56
56
 57
57
 58
58
 59
59
 60
60
 61
61
 62
62
 63
63
 64
64
 65
65
 66
66
 67
67
 68
68
 69
69
 70
70
 71
71
 72
72
 73
73
 74
74
 75
75
 76
76
 77
77
 78
78
 79
79
 80
80
 81
81
 82
82
 83
83
 84
84
 85
85
 86
86
 87
87
 88
88
 89
89
 90
90
 91
91
 92
92
 93
93
 94
94
 95
95
 96
96
 97
97
 98
98
 99
99
 100
100
 101
101
 102
102
 103
103
 104
104
 105
105
 106
106
 107
107
 108
108
 109
109
 110
110
 111
111
 112
112
 113
113
 114
114
 115
115
 116
116
 117
117
 118
118
 119
119
 120
120
 121
121
 122
122
 123
123
 124
124
 125
125
 126
126
 127
127
 128
128
 129
129
 130
130
 131
131
 132
132
 133
133
 134
134
 135
135
 136
136
 137
137
 138
138
 139
139
 140
140
 141
141
 142
142
 143
143