Using the Looper
8•3
RECORD/OVERDUB -
To record a Loop, press the
RECORD
FBV footswitch and the
Looper will immediately start recording. You’ll see the Performance View display the
following:
•
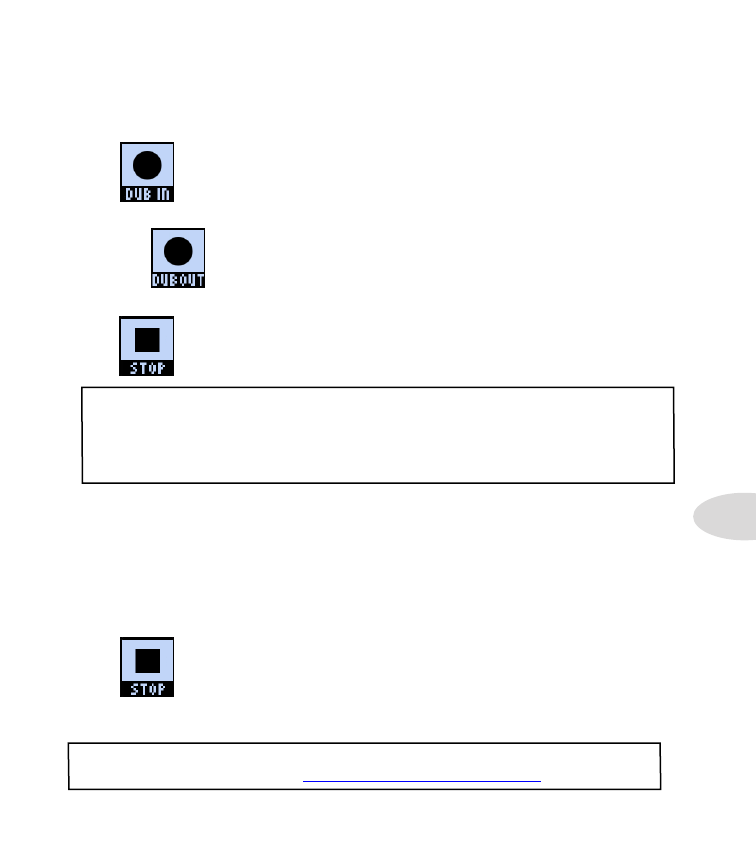
The Record function shows “DUB IN.” Pressing the
RECORD
FBV
footswitch will immediately put you into Overdub-Record mode.
•
If you press
RECORD
at this time, whatever you play will be recorded
on top of the original Loop recording, and you’ll see the Performance
View indicator show “DUB OUT.” Press the FBV footswitch again to
stop the overdub recording.
•
The Play/Record function shows “STOP” to indicate that pressing the
PLAY/STOP
FBV footswitch will stop playback & recording.
Note: Once you have a Loop recorded, you can layer an overdub on top of your current
Loop at any time. Simply play back the Loop and step on the
REC/OVERDUB
switch
press the
RECORD
FBV footswitch
while the Loop is playing
. Your new live guitar will
be recorded on top of your previously recorded Loop. You can repeat this step and layer as
many overdubs as you like!
If you press
RECORD
while Loop playback is stopped, this will always record a new Loop,
and any previously recording will be discarded.
PLAY/STOP -
Press the
PLAY/STOP
FBV footswitch to toggle Play/Stop for your recorded
Loop. If you are actively recording a Loop, press this switch to stop recording and set your
Loop “out” point. The button remains lit whenever playback is active.
•
While playback is active, the Play/Stop icon appears as “STOP.”
1/2 SPEED -
Press the
1/2 SPEED
FBV footswitch to toggle the 1/2 Speed feature On/Off.
Note that you can use the 1/2 Speed option for recording as well as playback. Specific
behaviors apply to each - please see


